


19 - Bodywork
- andycbryant
- Jan 20, 2018
- 3 min read
May 2014 First the car is pushed around from the remote garage ! And the bonnet comes off. The interior surface shows the original shade of red, but the finish is pretty poor. On removing the hinges two patches of bare fibreglass see the light of day for the first time in 50 years. Lots of oil and dirt have been spilt on it in the past so some of the stale petrol got used to clean it off.


Here is a comparison between the Post Office red and the original shade.

The exterior of the bonnet was sanded back mechanically. A Bosch hand held sander being very useful.
June 2014 and now my attention turns to stripping the paint from the entire body. I am comfortable working with plastics & knew using solvent strippers was going to be a non starter. I became aware of water based stripper and set about painting this on panel by panel.
Initial results were stunning. All layers of paint and primer right through to the gel coat.

The unfortunate thing was that when I left it on overnight it baked on.


With the car sitting on my Mums driveway, she was able to see it for the first time since 1978. The phrase Mum knows best is not often heard in the classic car restoration world, but she came up with a blinding idea. Scraping the paint off was leaving scratches so she suggested using brillo pads. The added bonus of the soap was that it helped wash away any residue. As I worked around the car the extent of fibreglass repairs was becoming clear. I also uncovered a previous repair. The car had two accidents I know of, plus was rolled over by hooligans. The front damage was caused at a junction in South London whilst the rear damage was caused by a shunt at the pedestrian crossing in town. Ironically my Father was on his way to strip down a 5CWT van sat in a barn. The patch of yellow was cut from the rear of that van.

18/06/2014. And from 50 shades of red to 50 shades of grey !

The roof had suffered under the pressure of the roof rack. This had resulted in dips forming in the roof. Luckily, in the summer heat they popped back out !


Assessing the repair work shows several areas of attention. The passenger side seems to have had damage, which necessitated the respray. I do not know if this happened before my father bought the car, or if it was a result of the car being tipped up. Both the front and rear bumper areas require extensive work. The repair process involves a lot of channeling out and removing de laminated GRP. Some parts will also need repairing from behind once the body is off.


Sadly some of the repairs will not last. Doing work in cold damp weather encouraged osmosis and the GRP soaked up the moisture. Gel coat cracks were repaired using gelcoat filler. Major filling will use U POL fine polyester filler.
23/03/2015 - Filling and sanding done it was time to start seeing what the job looked like with some filler primer. This also served to help fill the number of scratches the body had picked up whilst naked.


However, it was not long before some shortcomings in my work were exposed. When working at the front of the car the repairs around the number plate recess gave way & closer inspection revealed soft bridging paste. This all had to be dug out and replaced.


JUNE 2015 and surface work is just about done. As the body lift approaches, the doors and boot lid have been removed.
Removing the windows, headlining & remaining interior trim items reveled a few more repairs. The doors will also require some attention.


It won't be long before Phoebe gets wheeled around the corner again.

27/03/2015 and work on clearing out the boot area progresses. There was enough grit to fill pot holes. Once tidied up the plan is for a layer of black flow coat to be applied throughout the boot.


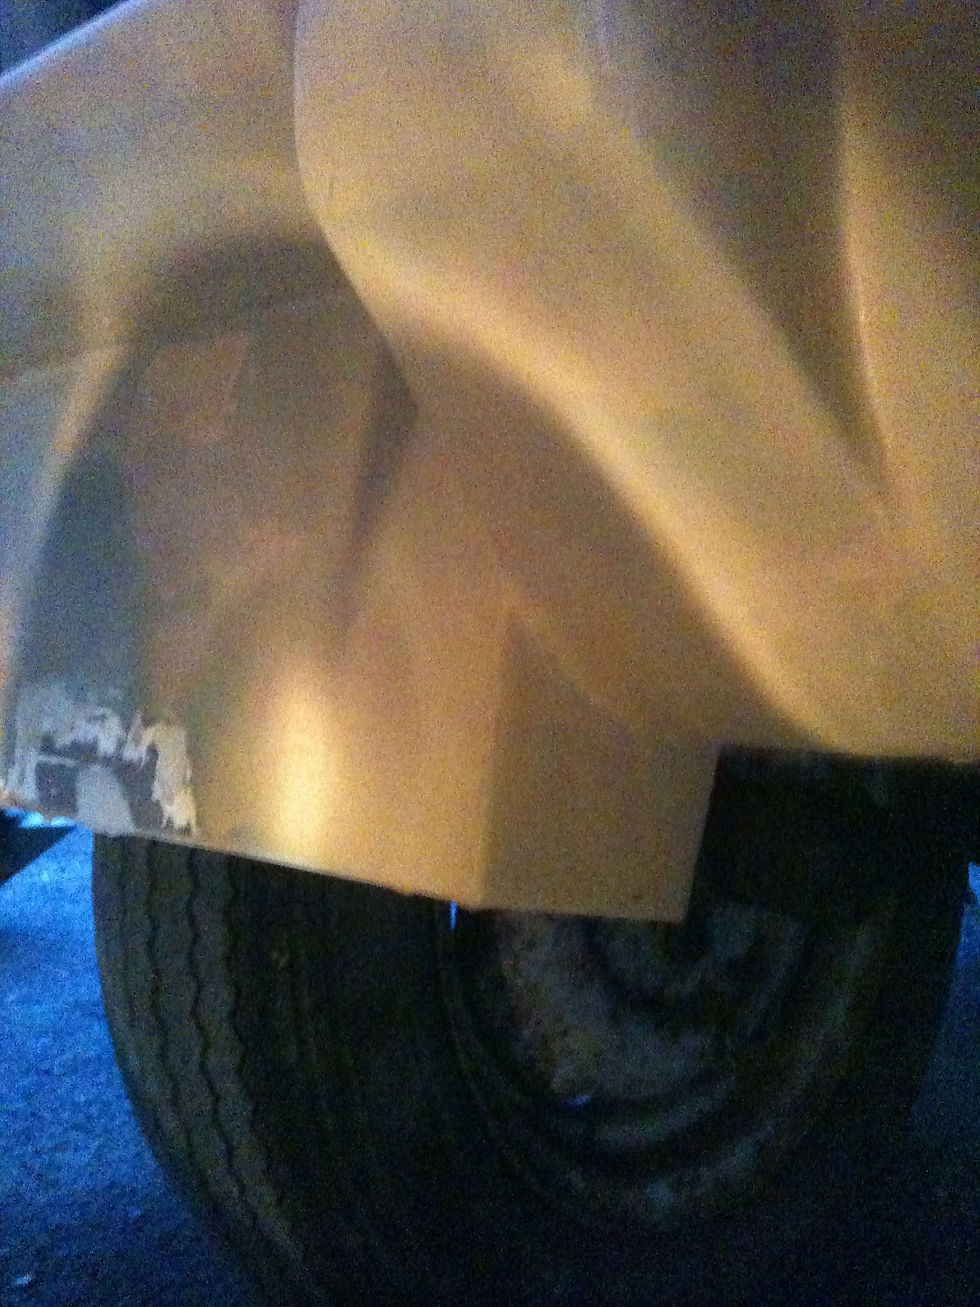
The petrol tank straps were corroded around the mounting and on going to undo the bolts it became clear that they were attached to a captive nut in between an inner and outer layer of body fibreglass. The captive nut plates had completely disintegrated. This is another design feature that was changed on later Regals with the plate being moved to the wheel arch. I had little choice but to adapt my 3/25 and remove contoured GRP to be flattened in order to accommodate a new stainless steel plate fabricated by my Brother.

He also produced these stainless straps for the tank. A slight miscalculation has meant they are the both size, but one should be longer than the other. However, they will do just fine with a coat of black and felt glued to the inside surface.