


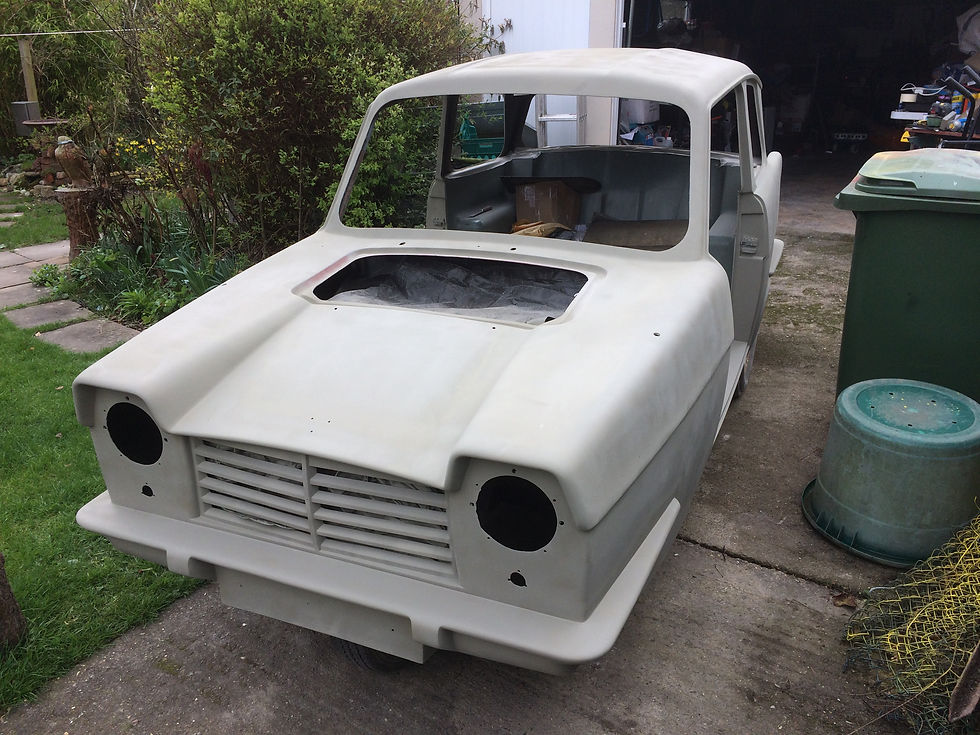
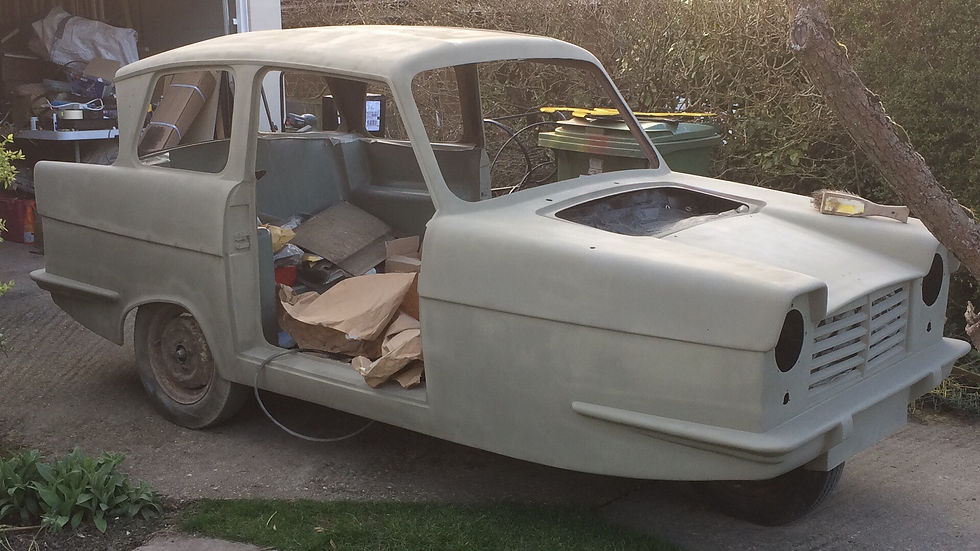
The general work flow for the paintwork was to have the repaired body checked over for surface faults, coat with suitable primer, flatten, apply an initial red primer, apply an initial gloss colour base and finally put on the correct shade. I had investigated getting a body shop to do the spraying, but no where local was interested or equipped to deal with GRP painting. This meant the paint work was going to be done on the drive way.
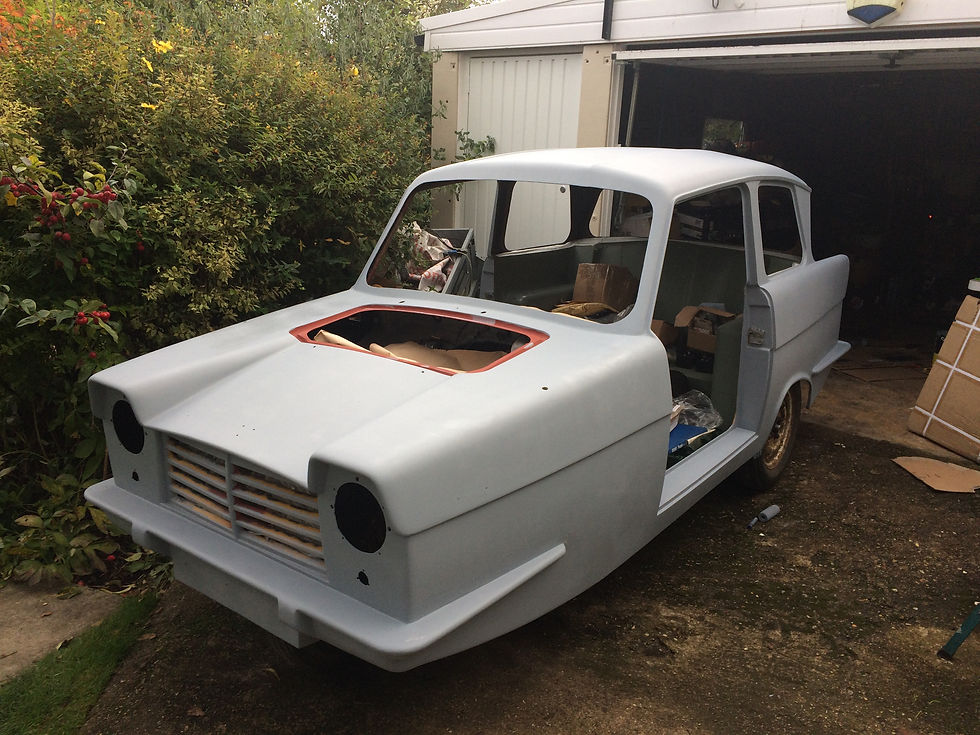
October 2016 and the car has had an overall coating of Upol P88 primer. This was applied with a roller and went on well.
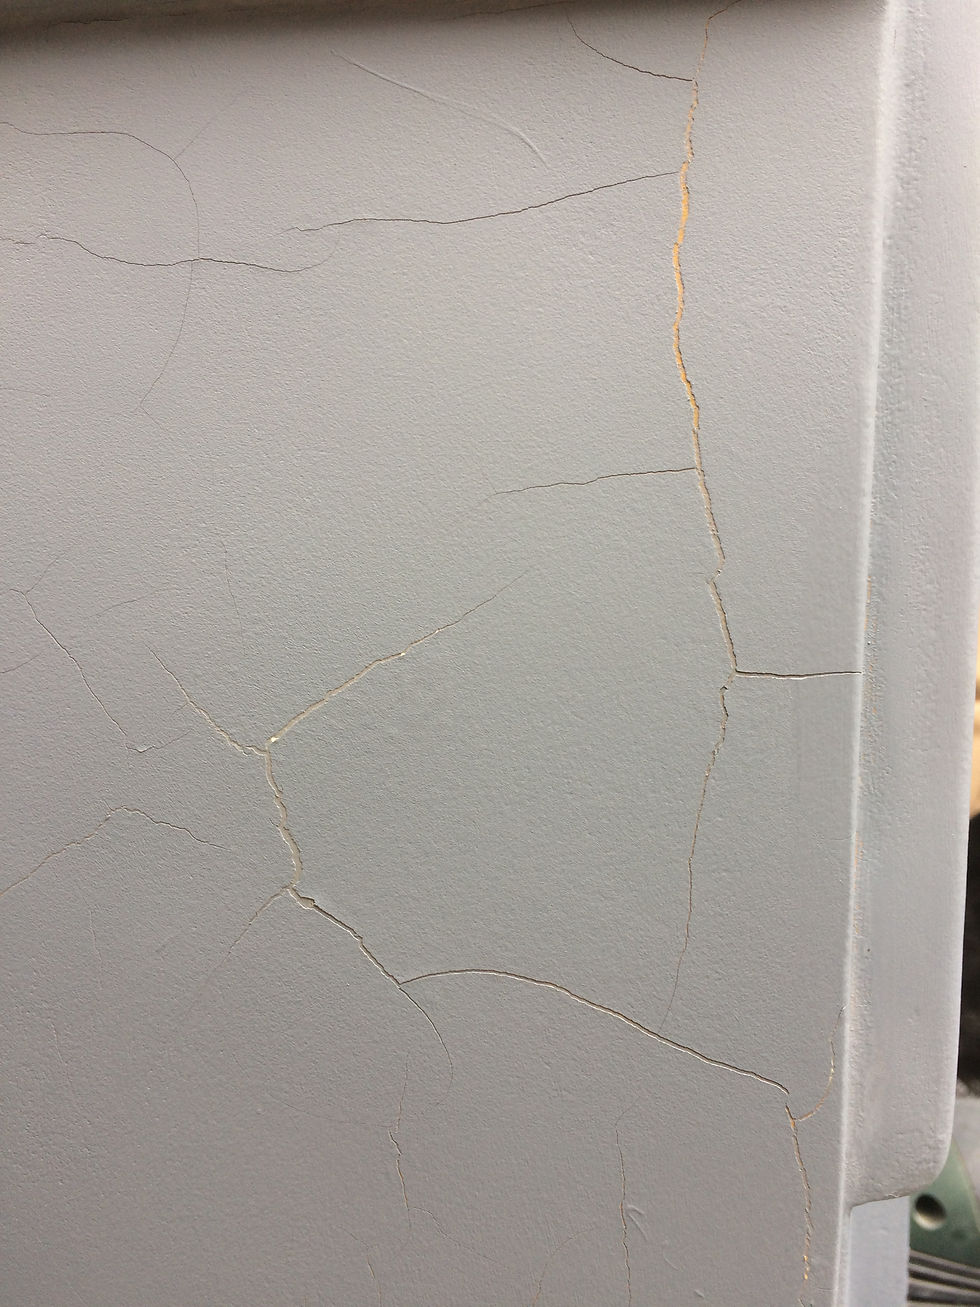
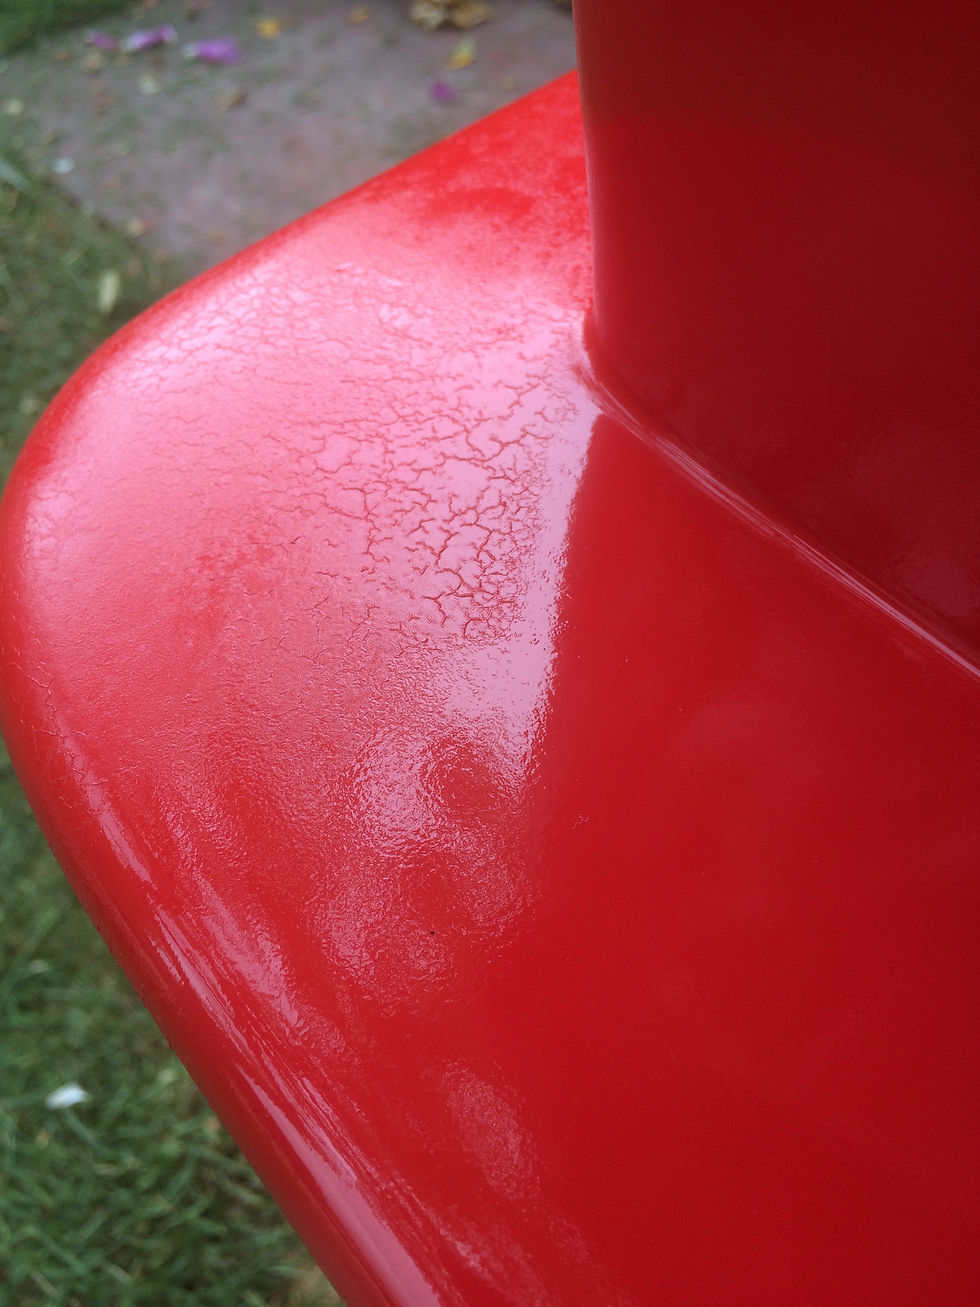
However, after drying the primer began to crack and shrink. The consensus is that the primer was applied too thickly and/or the solvent has been quickly leached into the GRP. Either way this cannot be remedied without flattening right back. In hindsight a barrier coat should have been applied first. A coating of bar coat will be applied all over the car to prevent the solvent being leached. The bar coat also provides an additional layer of protection against osmosis.
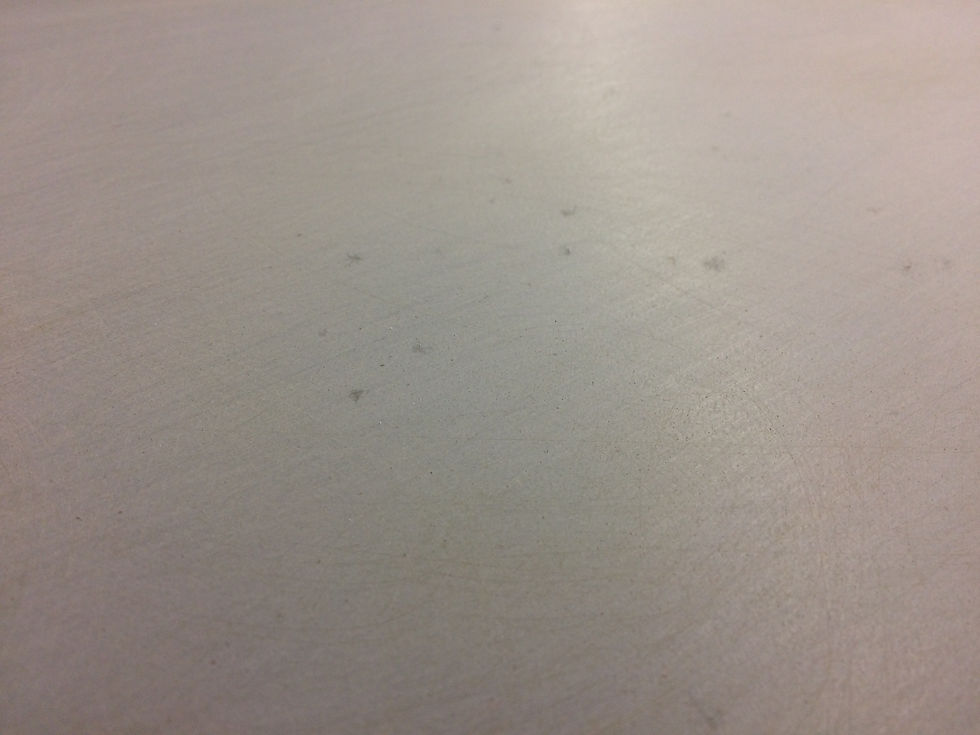
Flattening the cracked primer back further shows the high and low points in the body work surface. On a plus side the primer sands back very smoothly further helping to cover pin holes in the GRP.
A very messy job as the primer produced such fine powder !
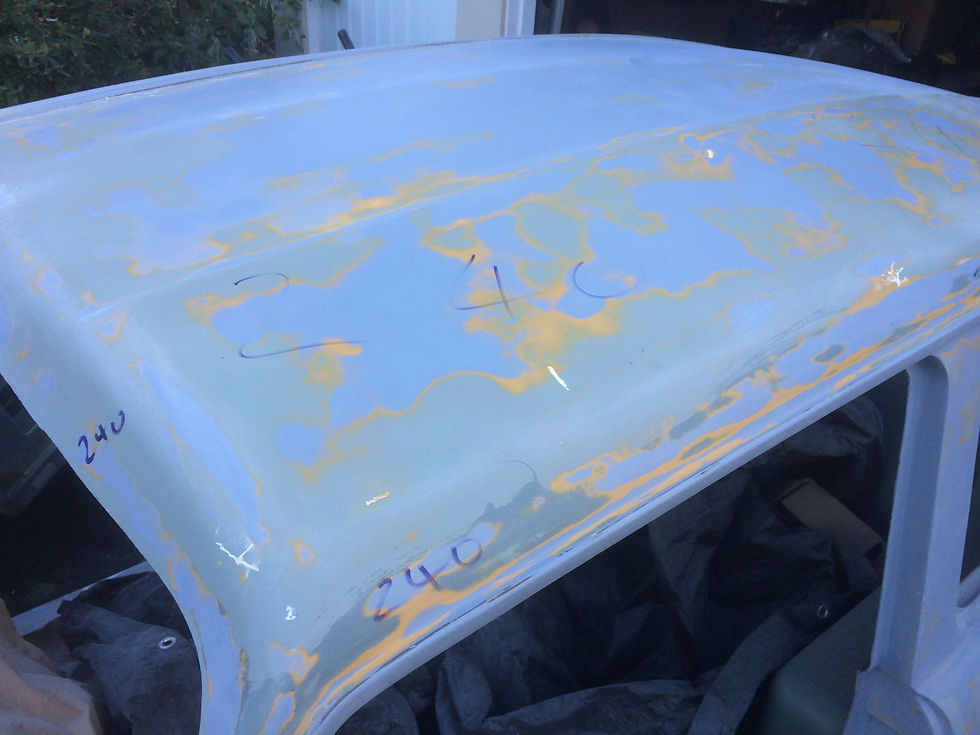
In order to keep track of which bits had been sanded with which grade grit it was necessary to mark the body accordingly.


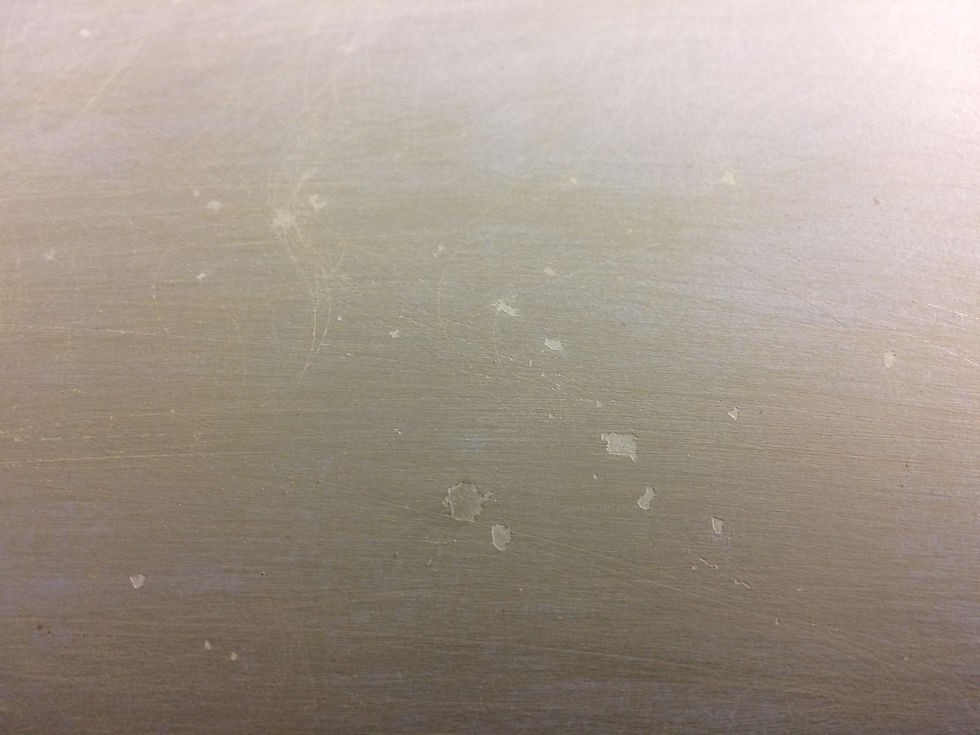
Some small surface faults developed. This looked like moisture trapped within the GRP escaping. It was therefore pointless painting anything until these small patches had been opened and warmed.
The body is finally bar coated and given a thinner than before coat of P88 primer.

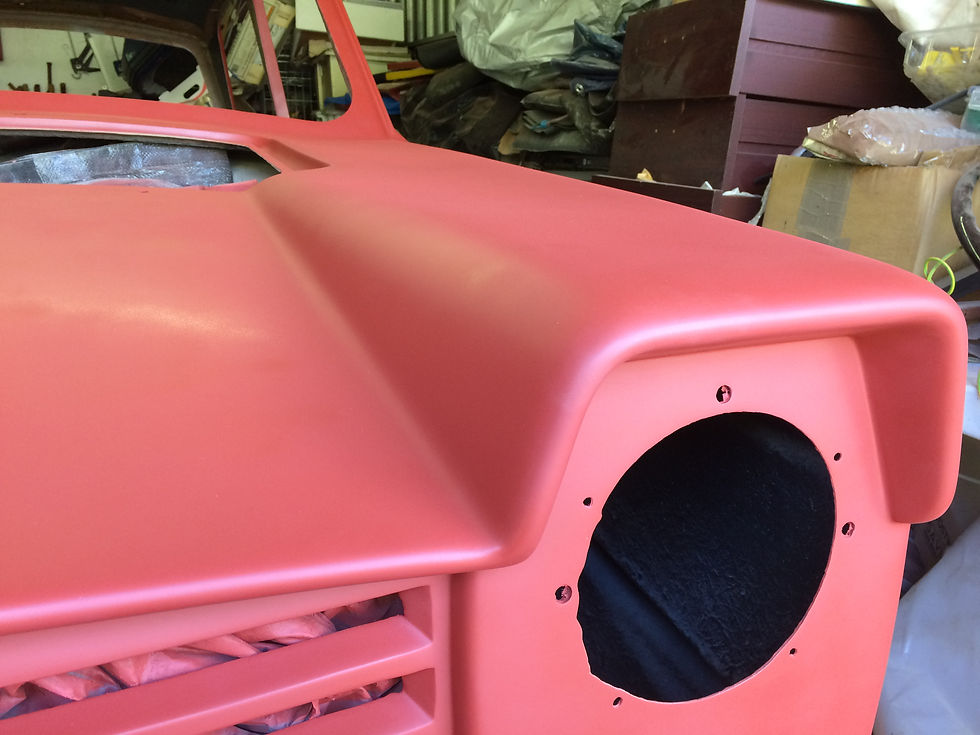
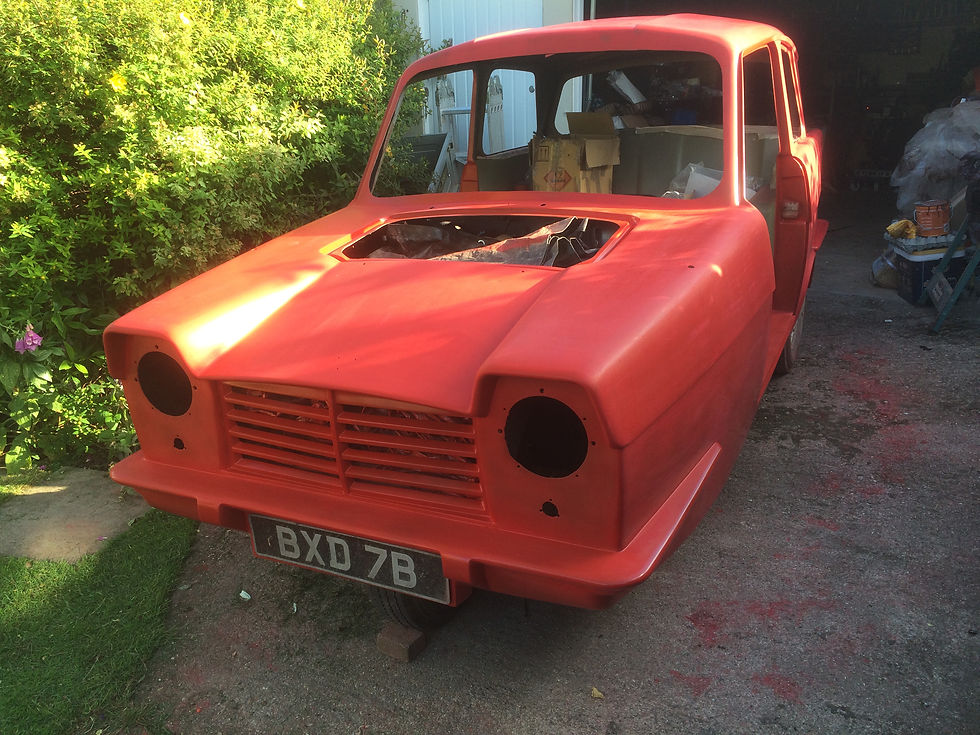
And then red plastic primer spray goes on.

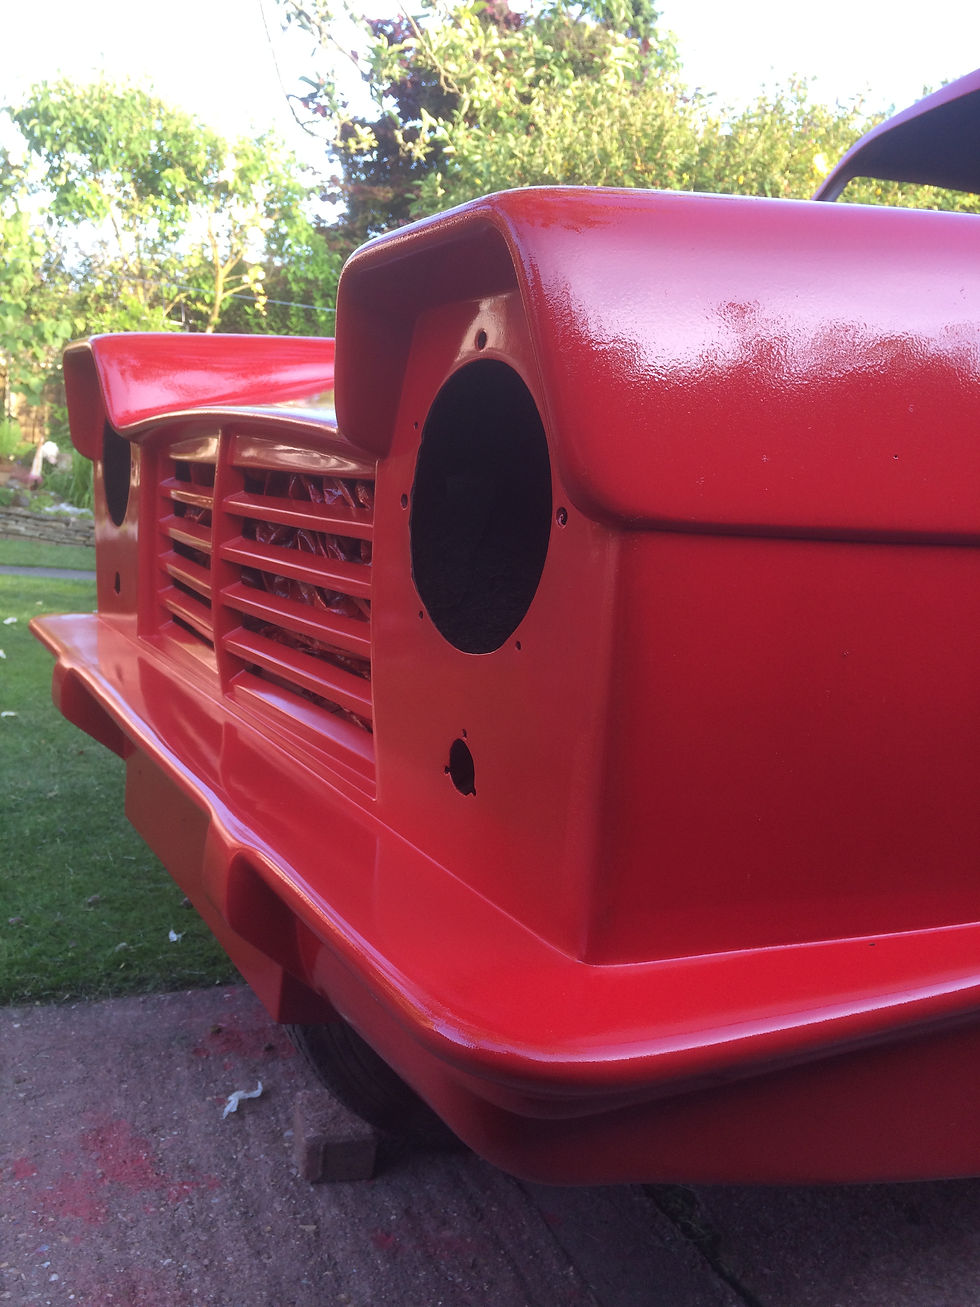
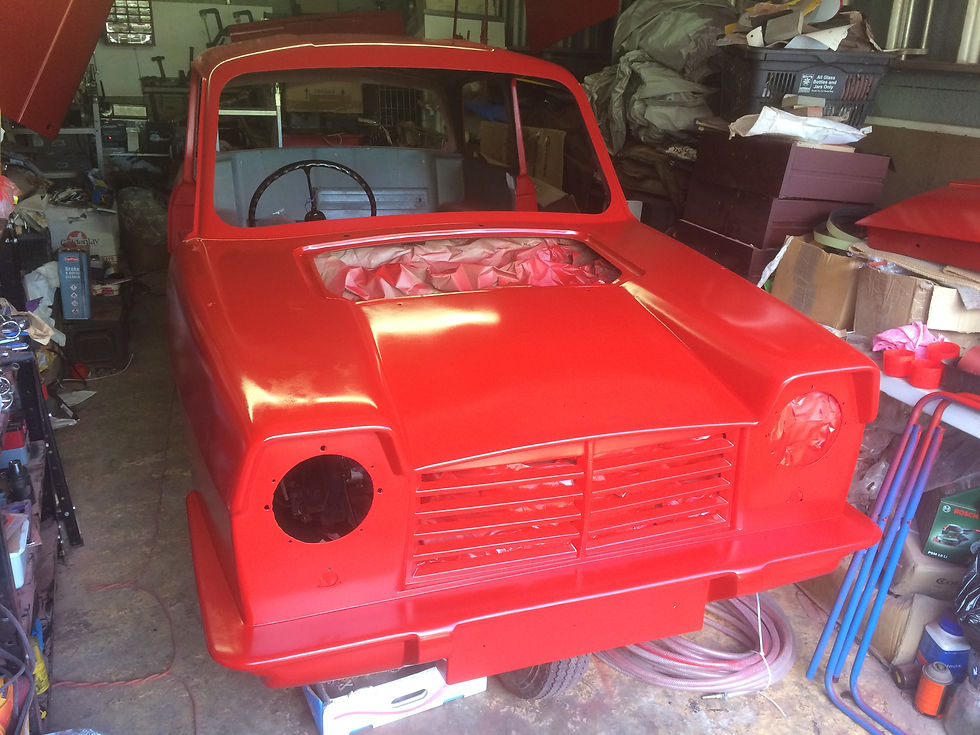
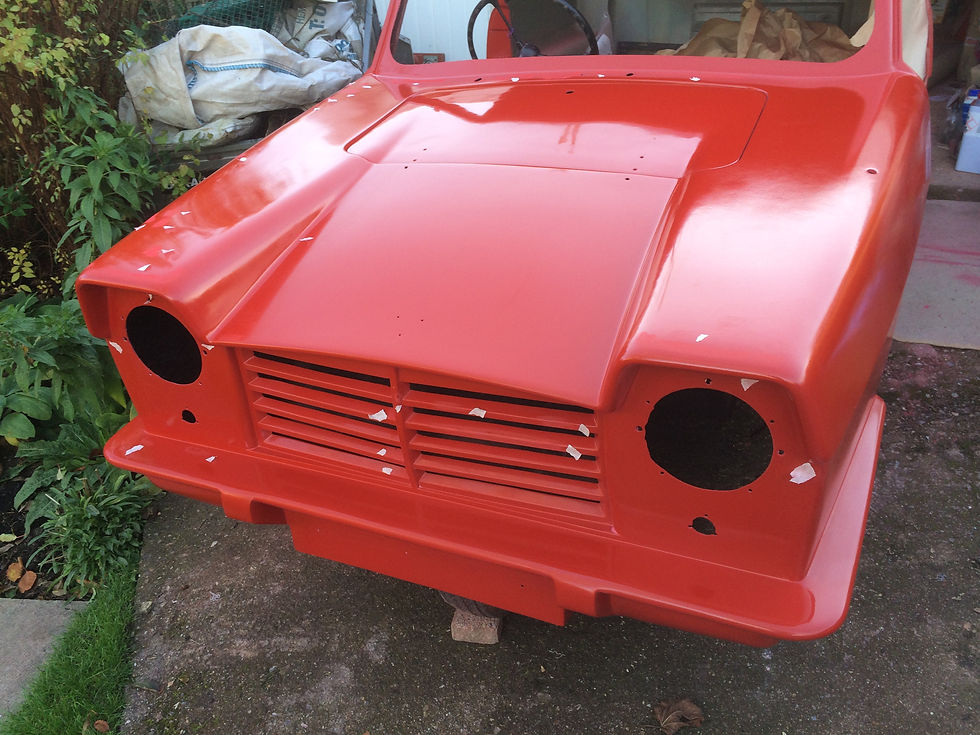
Transforming the look of the body.

Overall the finish looked great. The areas of major repair have blended in.
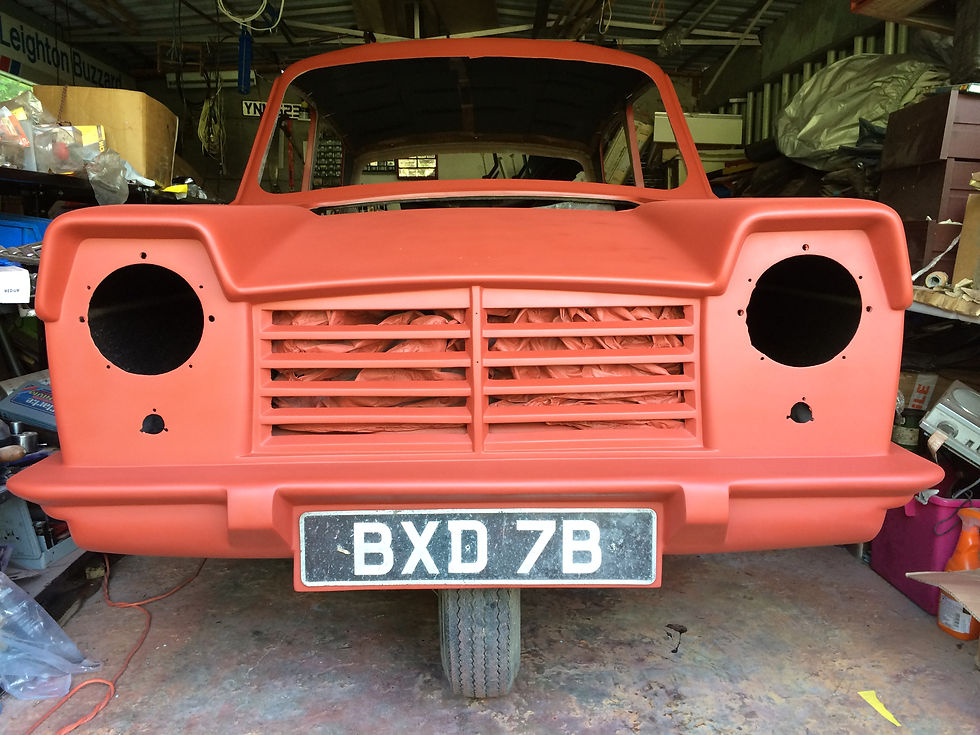
And for old times sake, the old numberplate is popped on !

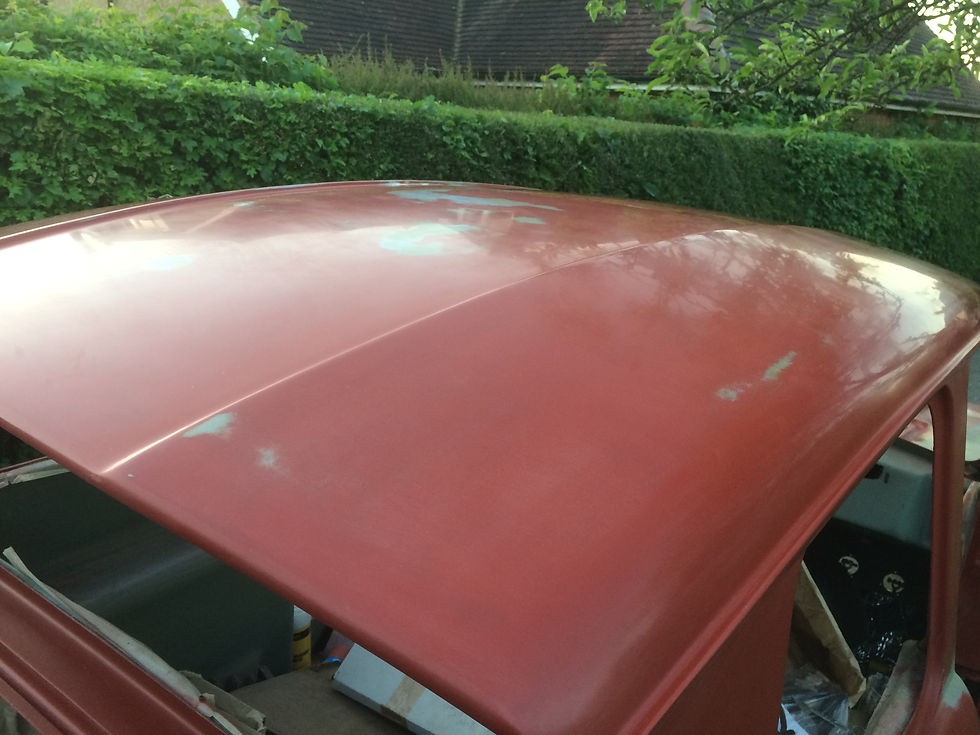
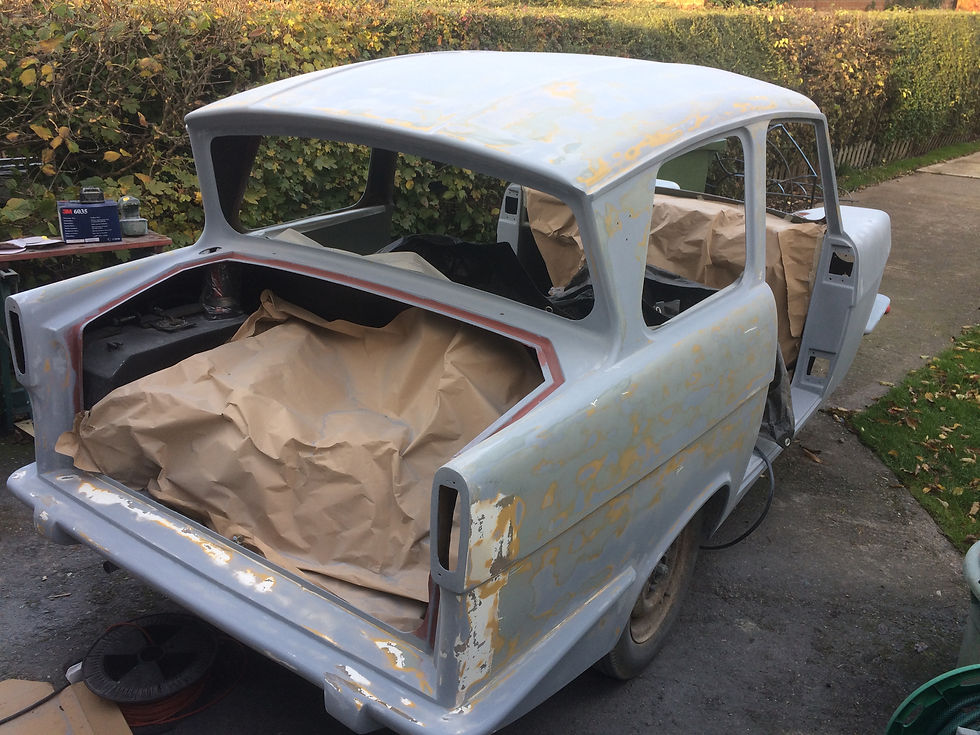
May 2017 - Flattening down the primer produced a half decent finish. Post Office red from a spray can has also been applied to some areas.
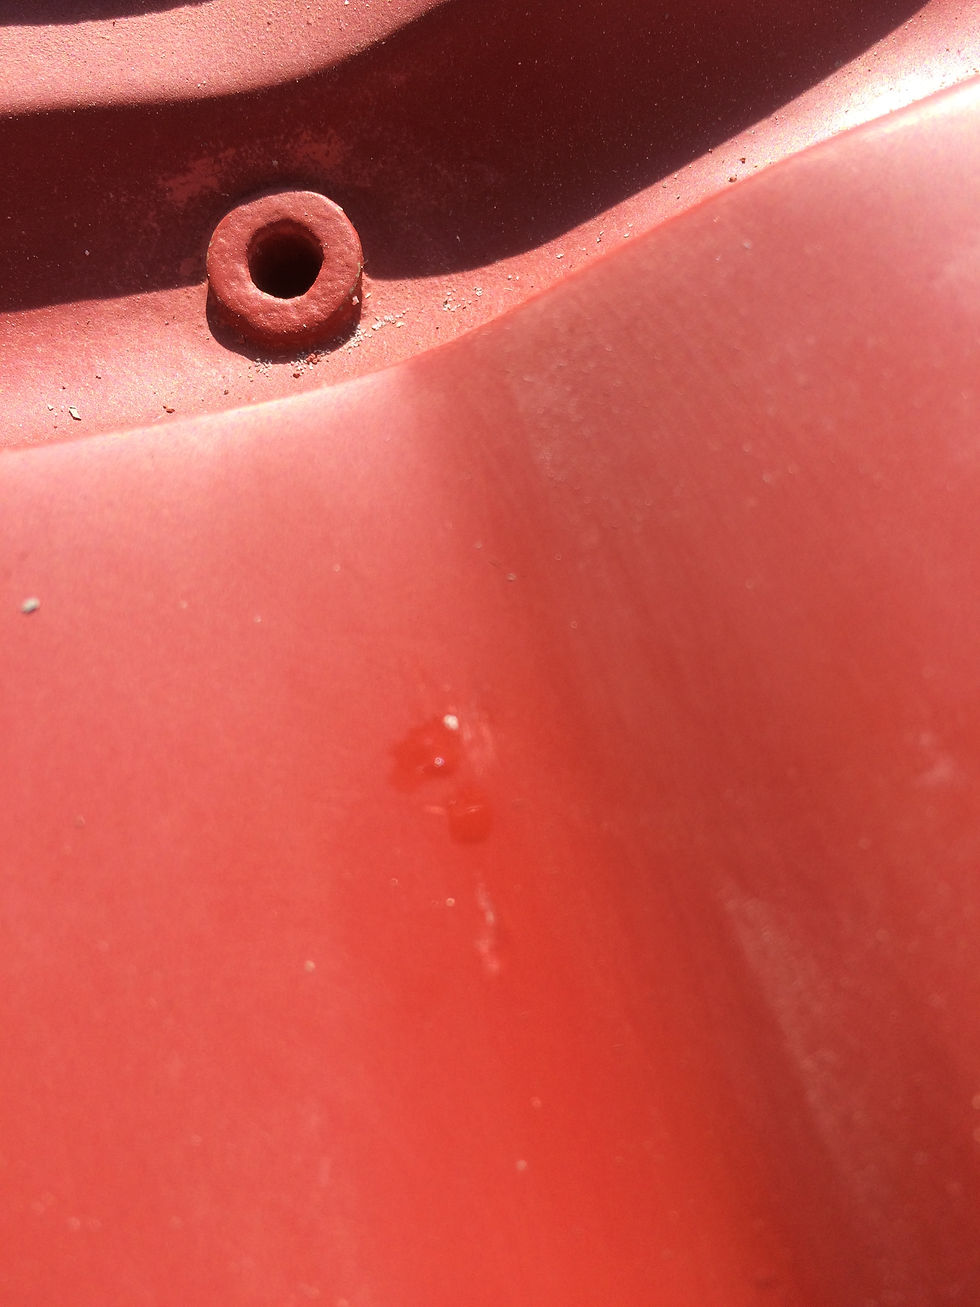
However, an odd patch of damp has appeared on one of the repairs on the nose. Further inspection reveled more soggy GRP to be dug out, aired and repaired.
And further small repairs presented themselves.

June 2017 - And the car receives a rollered on coat of Post Office red. This turned out to be a major mistake as the paint remained plasticy and did not bond with the previous areas that had a coat of spray paint.

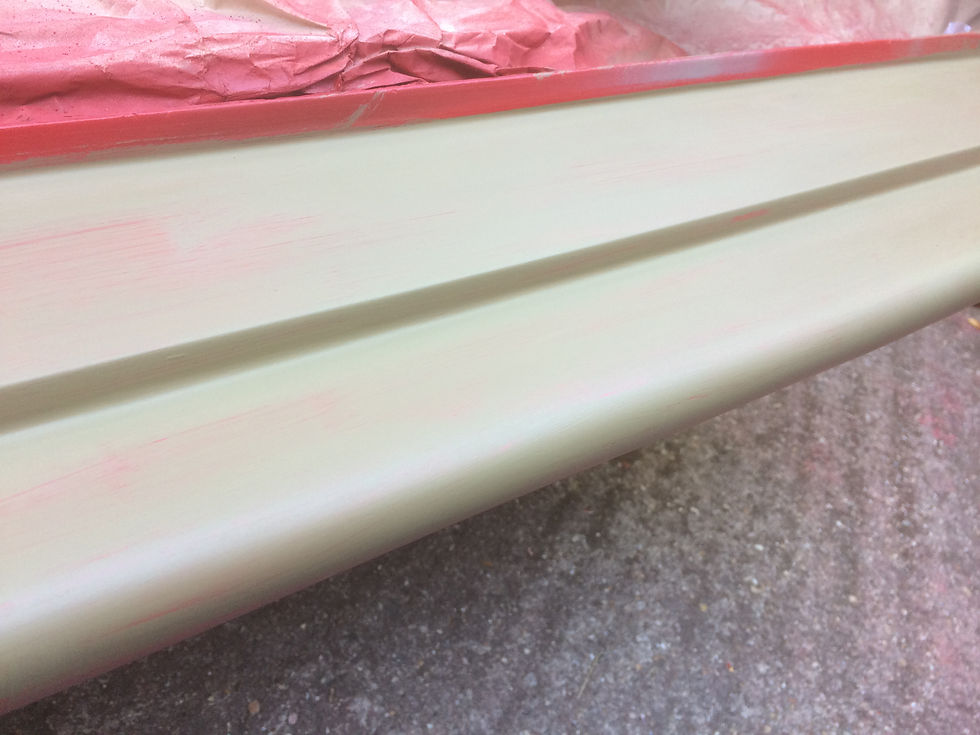
Digging out the mixed paint presented me with the realisation that i probably did not have enough made. A record of the mix was not kept so it was decided to get a whole new batch made.

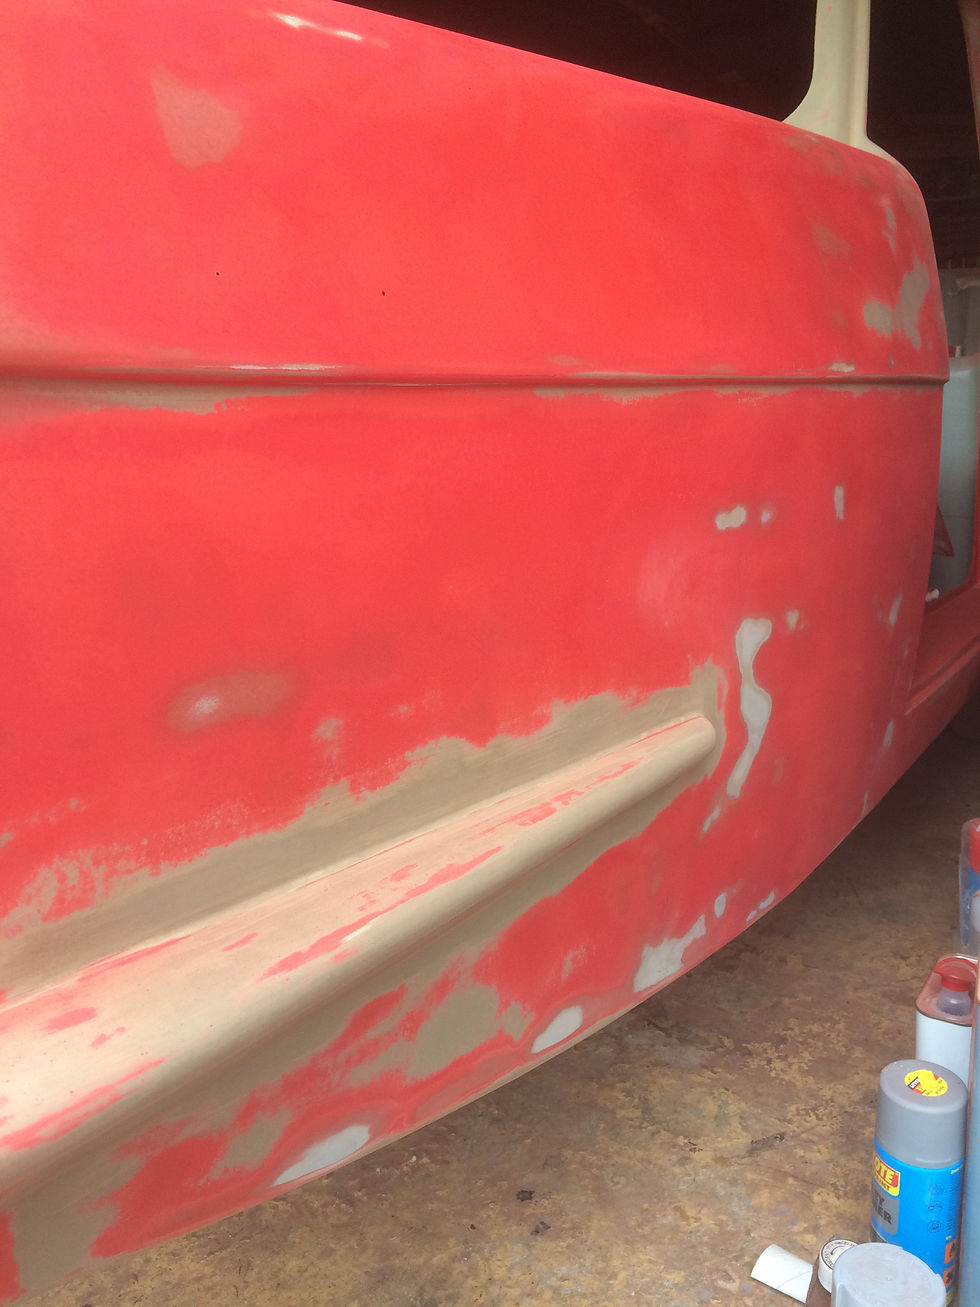
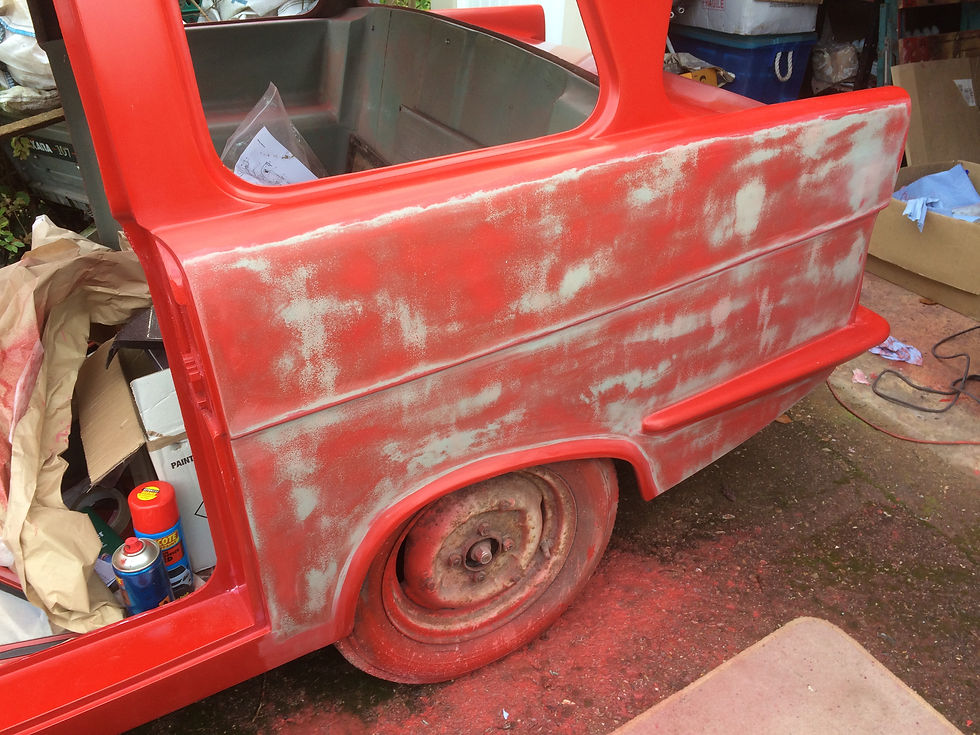
The body was given a spray over of rattle tin paint. Very quickly areas of reaction became apparent. There was no way this could be oversprayed with a spray gun mix. The source of the problem was the rollered on paint so that had to be sanded back.
The areas of worse reaction also reveived an additional coating of bar coat.

Sanding back the paint showed it was fairly soft so it was sanded right back. When done a spray over of rattle can paint helped highlight any remaining problem areas.
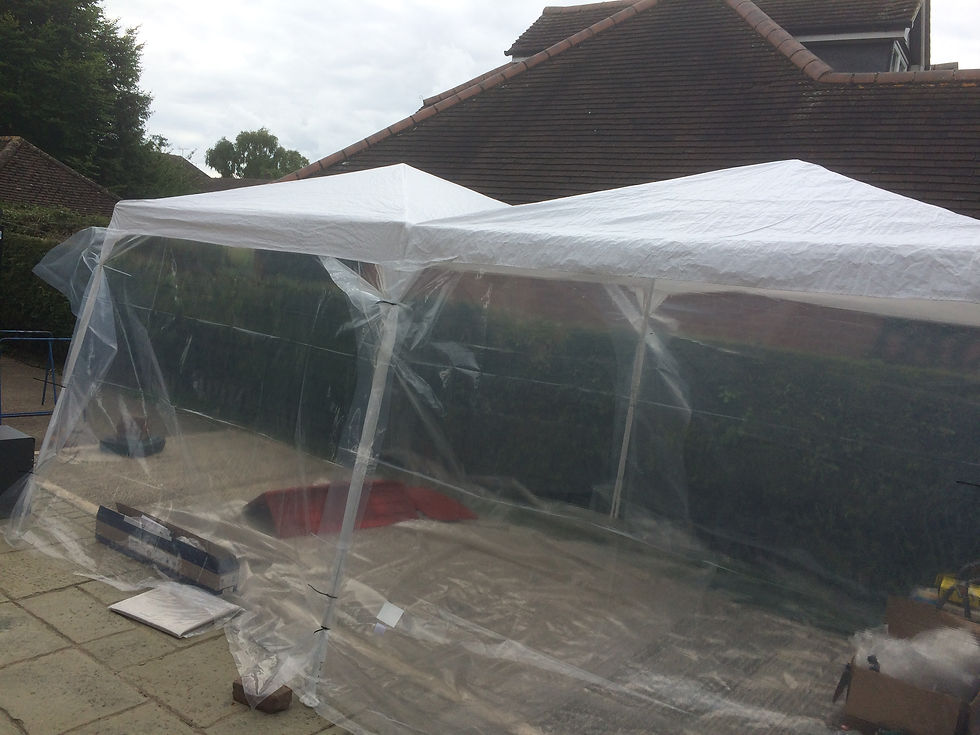
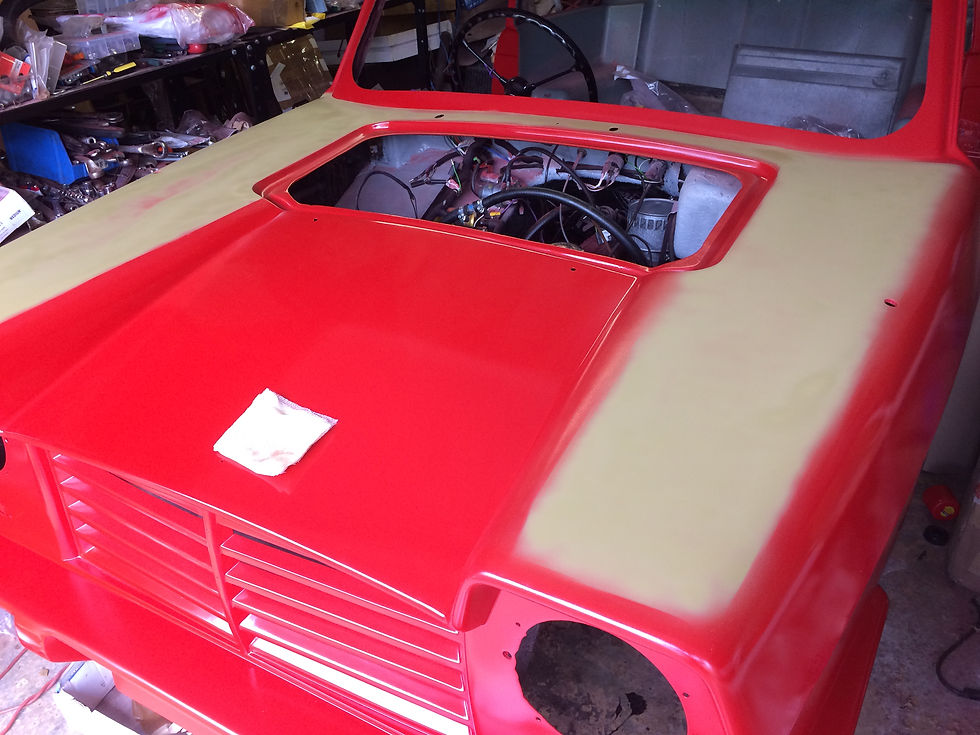
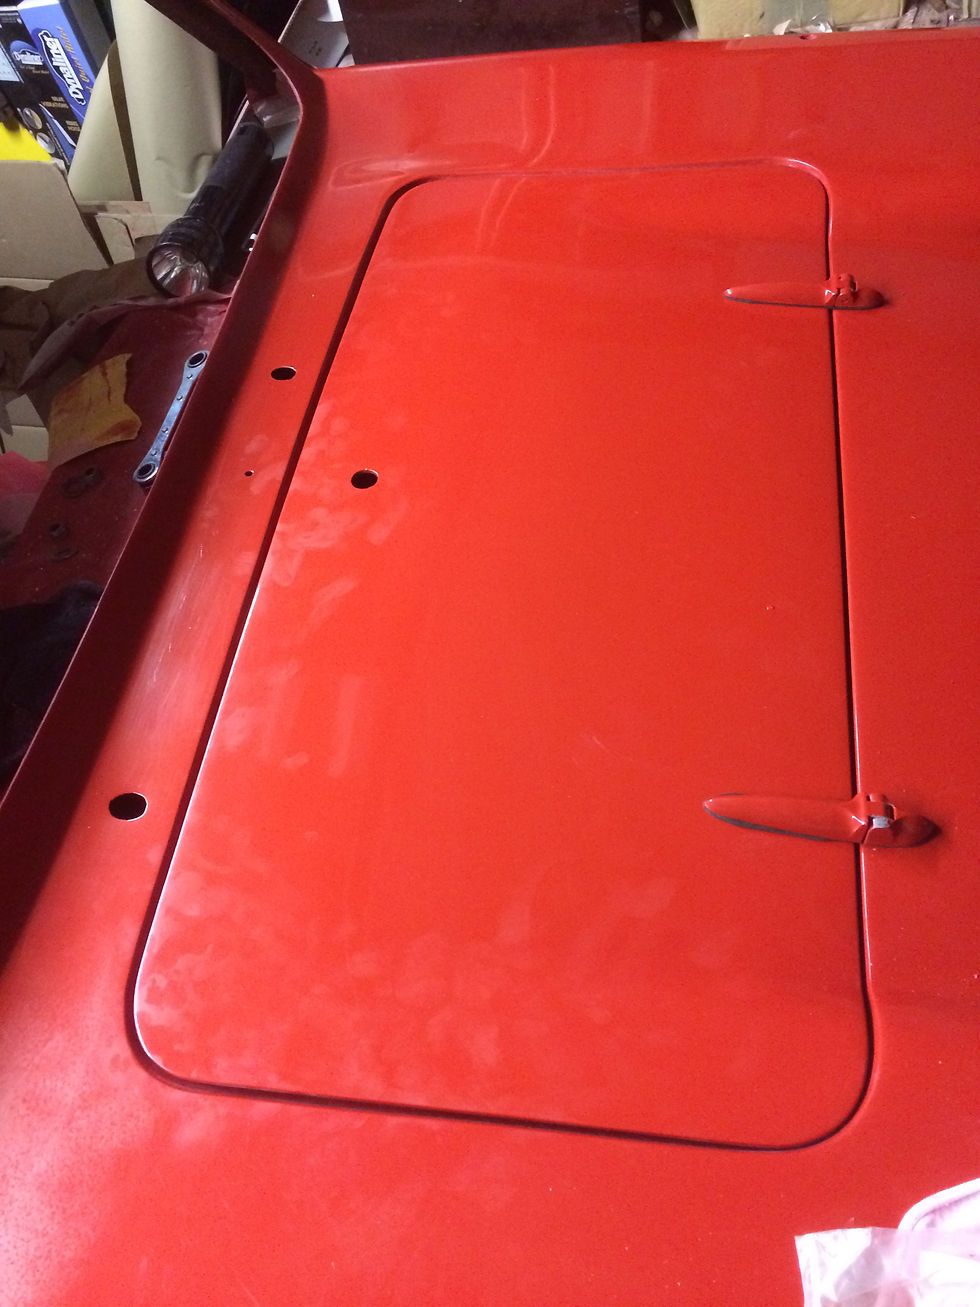
July 2017 and it was time to try out the construction of an improvised spray booth. The boot lid, doors and bonnet all got a coating.
The spray over on the boot lid revealed several surface faults that had not been immediately obvious. These had to be filled and prepped ready for a further spray.


Sanding down and prepping the body for spraying continued with much mess being created.
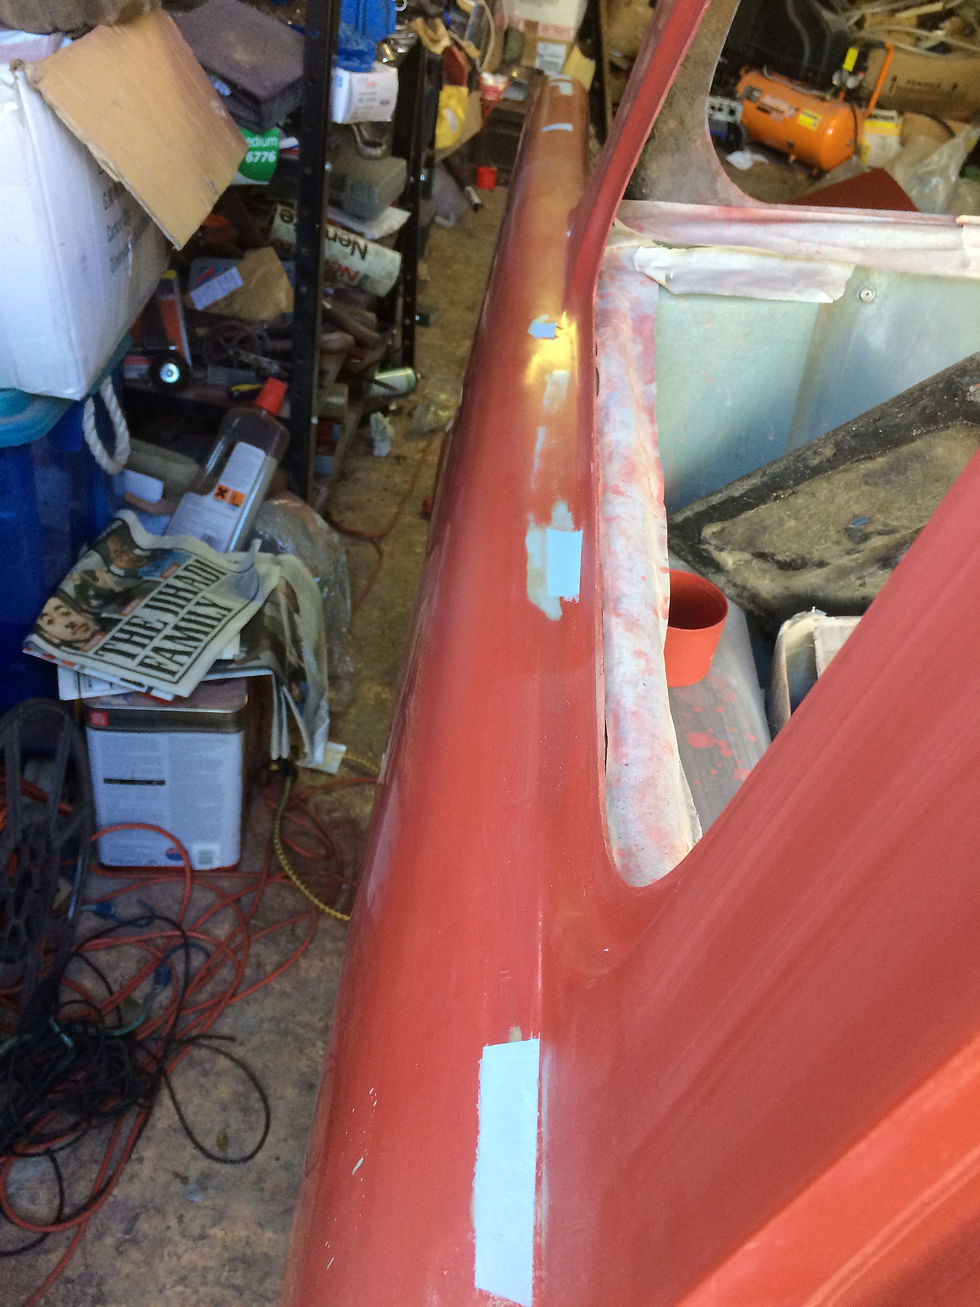
27 AUG 17 and the spray booth is put up and the car masked off for the first cpat.


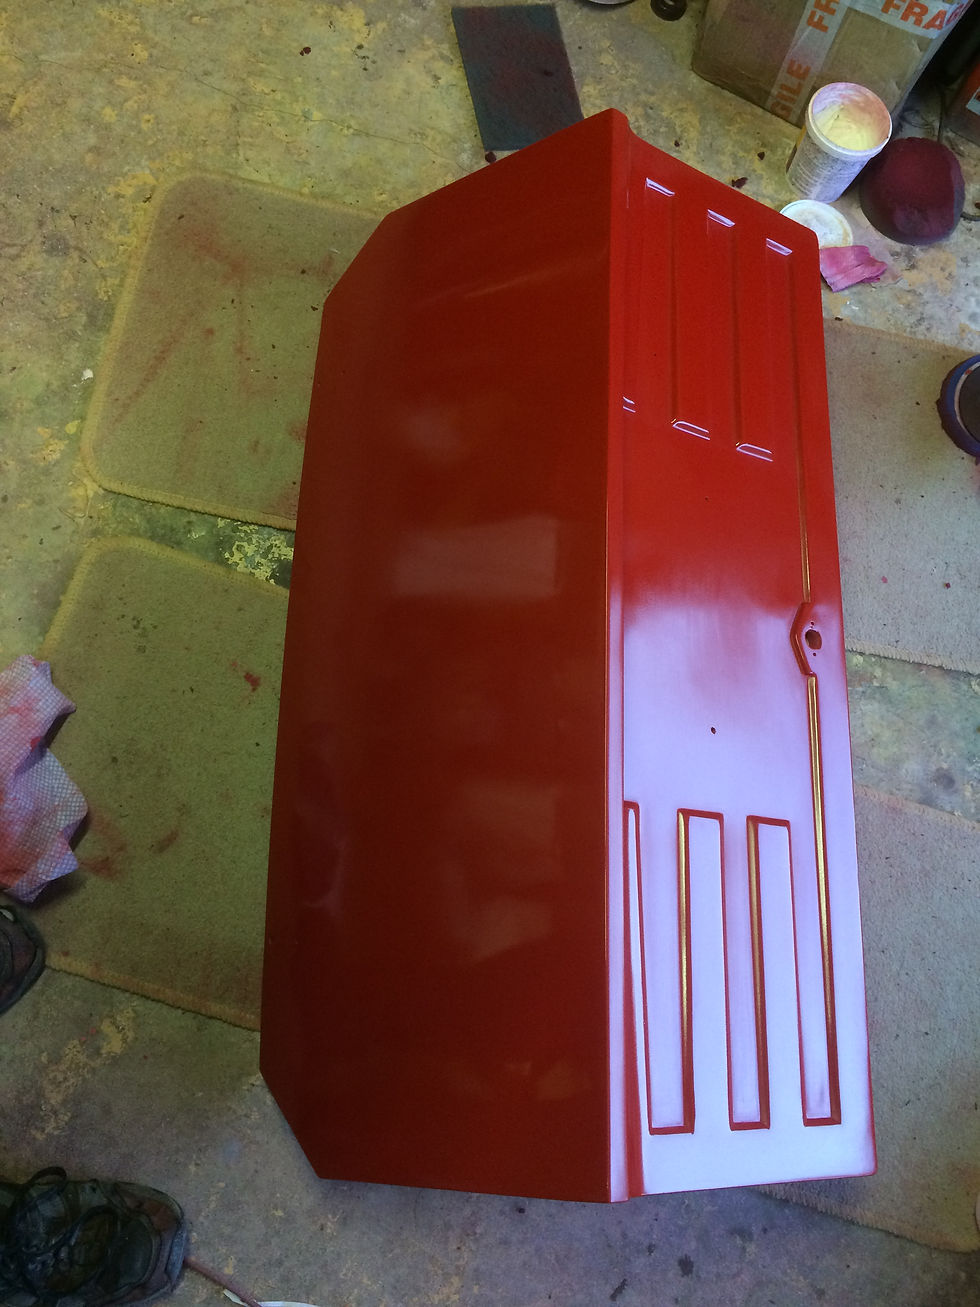
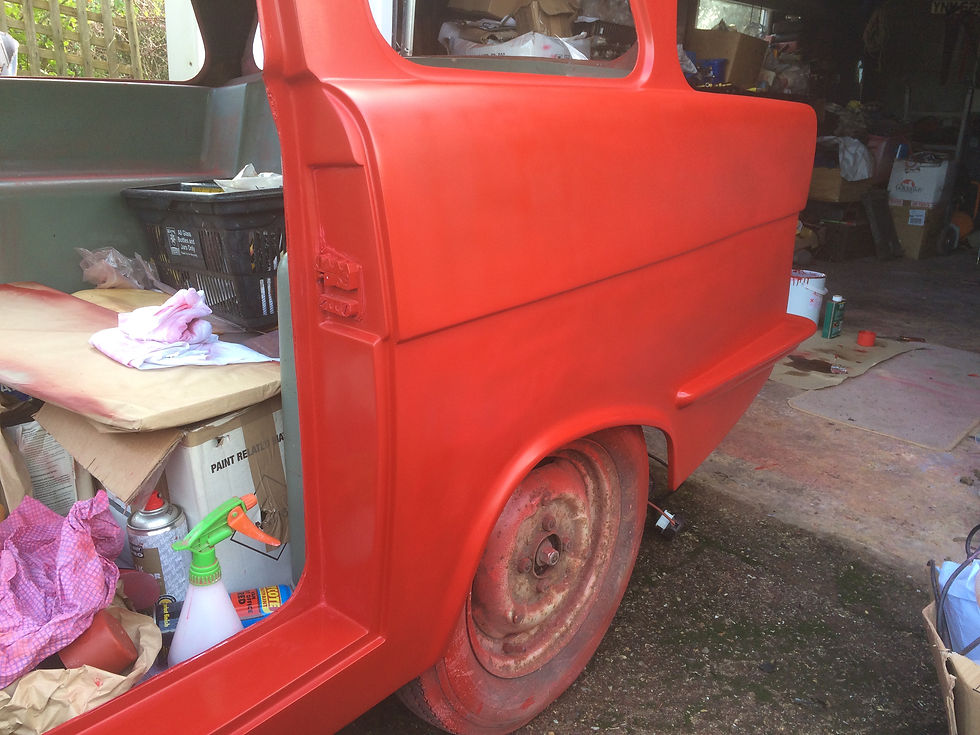
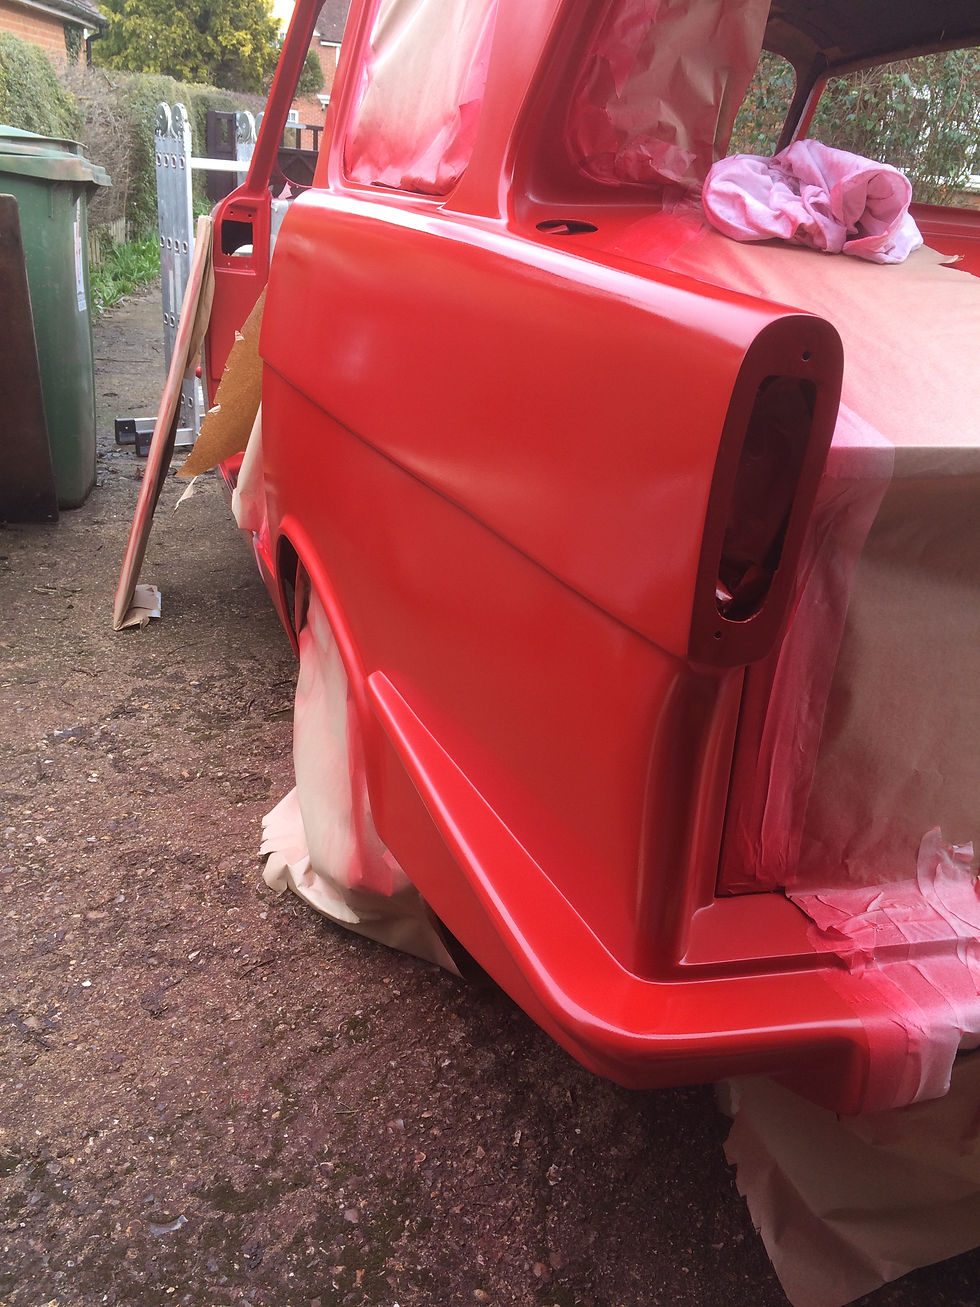
The boot lid gets another good coating and looks far better for it.
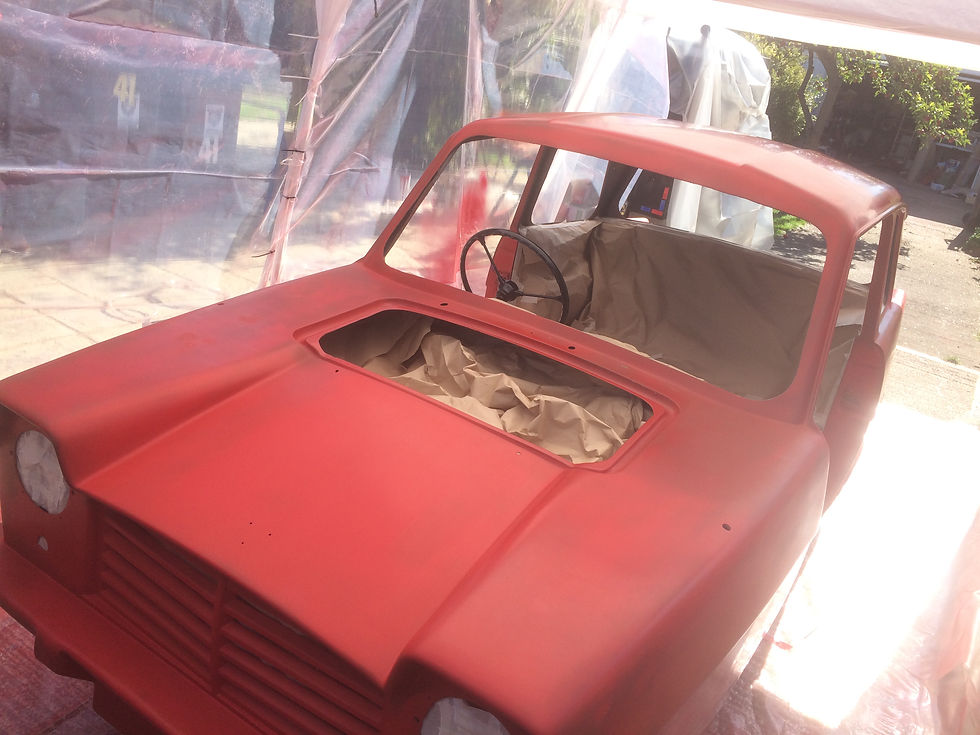
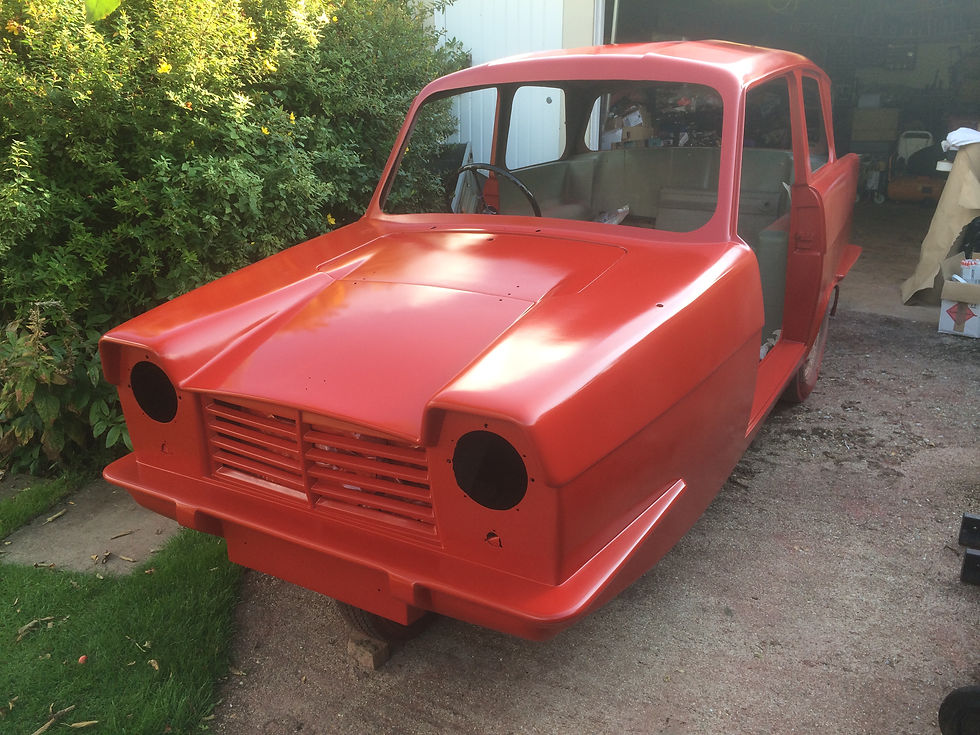
And after a good couple of coats the car is in the correct shade of red. Sadly there has been a couple of areas of reaction. The paint will be left to harden for a few weeks whilst I dig out the bar coat again.
The bar coat was applied in a vary thin layer using my small airbrush. The edges were then blended in to minimise a visible step between the paint jobs. The plan now is to use a touch up spray gun to re do these areas and put another coat on the roof.
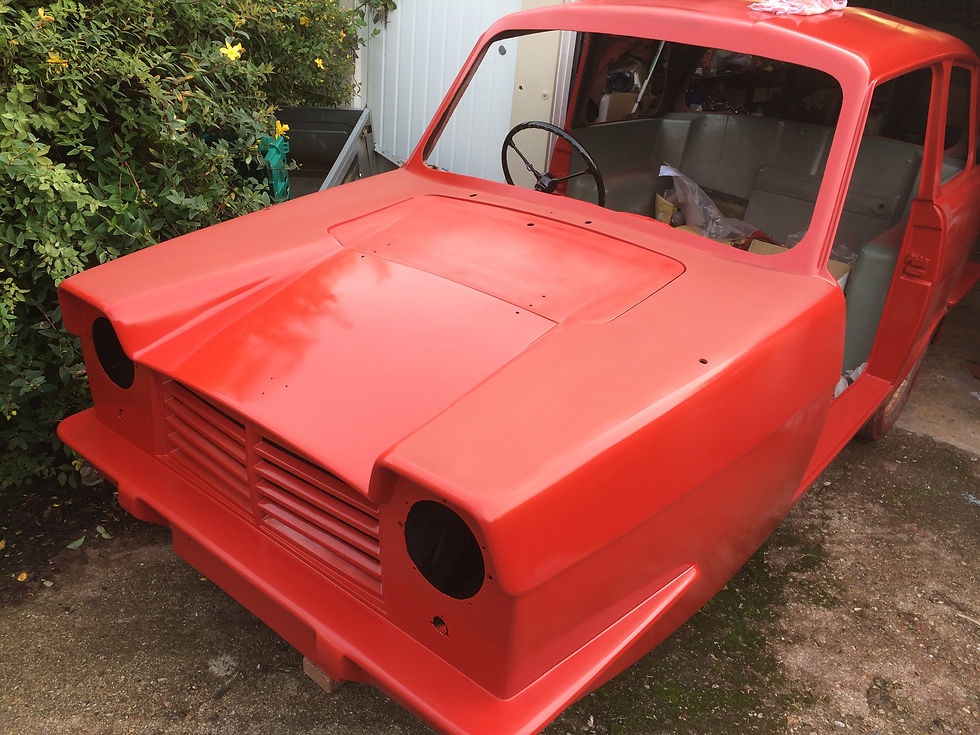
We are now into September and the touch up spray has gone on. Unfortunately too much overspray on the rear quarter produced further patches of reaction. These will need a proper flattening back as otherwise there is a risk of constantly bar coating patches. It was a bit disheartening and puts the project back another summer.

In the meantime some of the paintwork can be cut and polished.
The boot lid gets an initial cutting. The previous faults are no longer visible & I am so glad I did not leave them.

The weather is now getting too cold for outdoor paint spraying. Cutting and polishing continues, although some areas of thin paint have been identified.
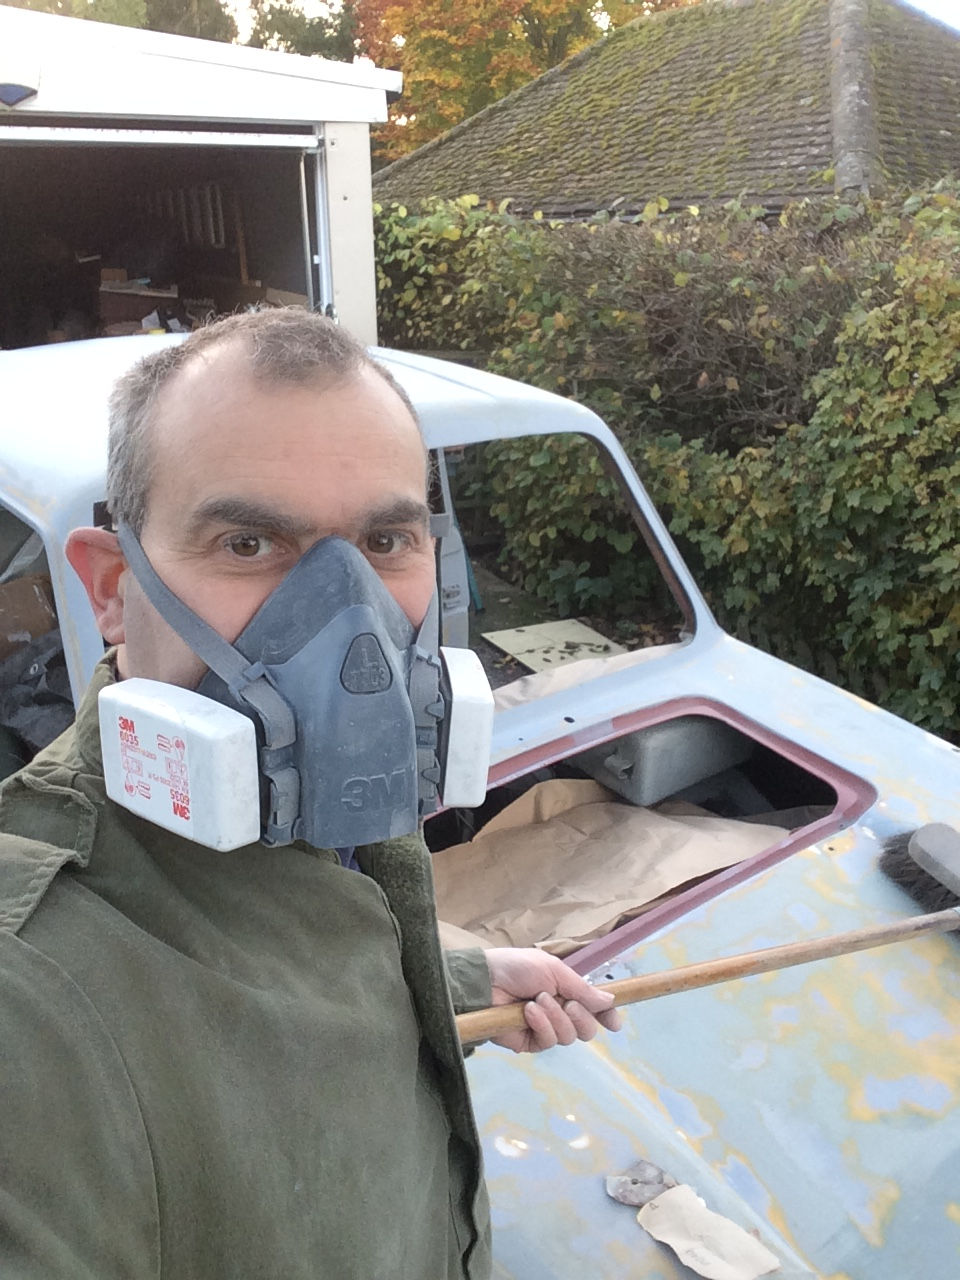
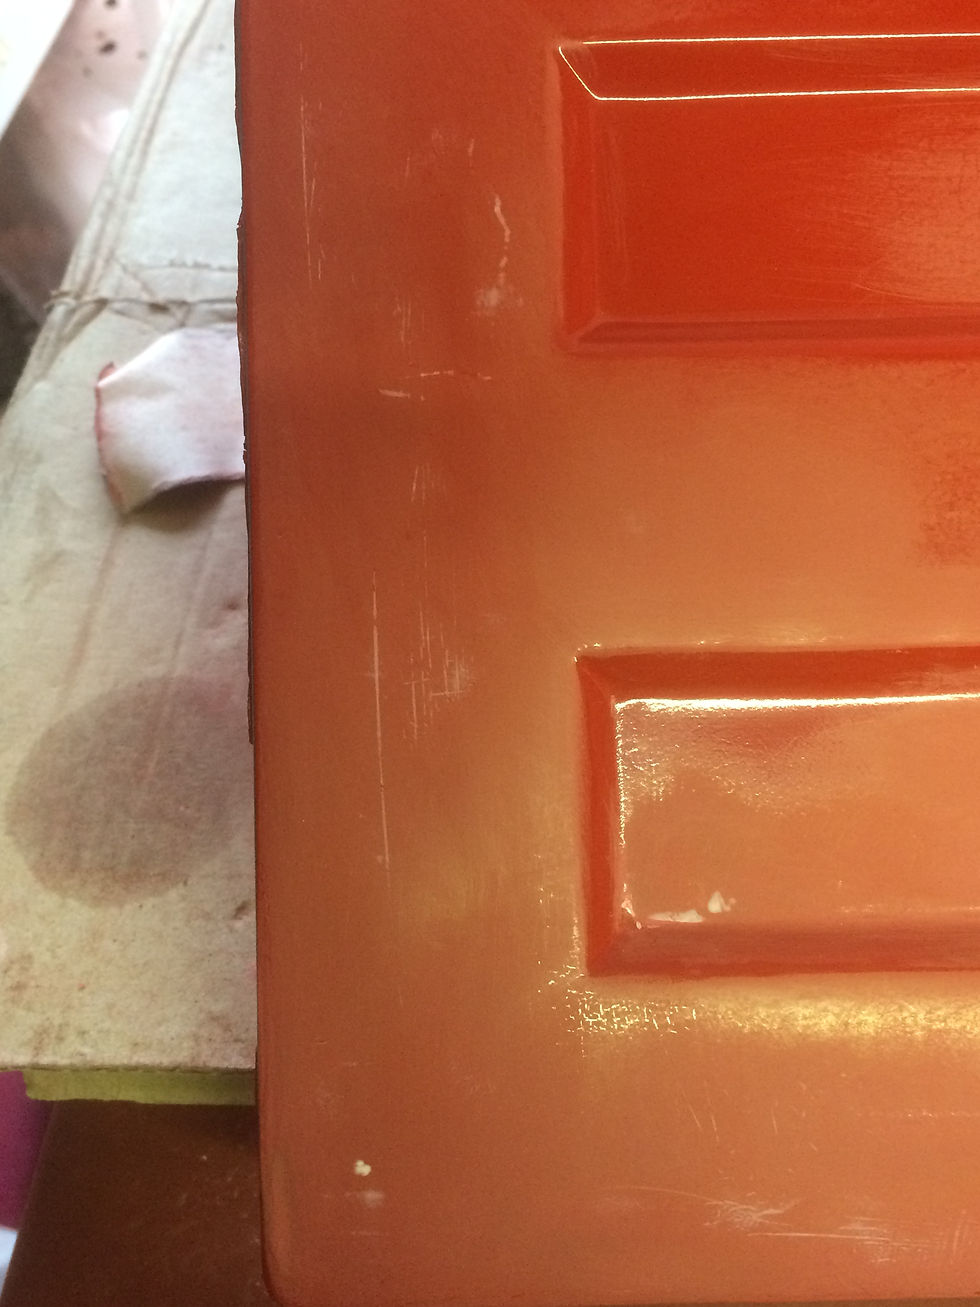
Using a polishing machine has produced some excellent results, but also some silly mistakes. It is very easy to scratch & burn the paint if too heavy handed. I decided it was worth the effort to set up my small airbrush and try out repairing scratches, chips and rubbed down burns as well as any other small defects that have been found. As some of these areas were quite small I had to identify them using bits of masking tape. I am pleased to say the airbrushing worked very well. Because the paint flow is so much finer, there is less cutting to do and the paint over the repair therefore stays thicker.
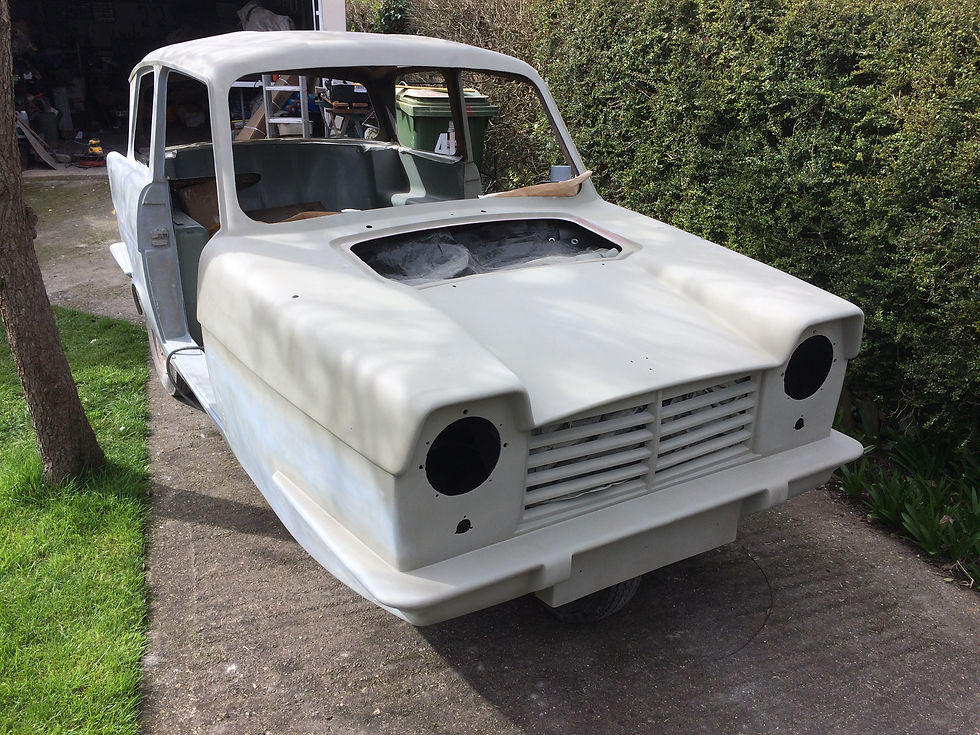
Before the heater matrix could be fitted it was time to fit the bonnet permanently.
With the whole rear quarter rubbed down the process of rebuilding the paint work gets underway so that the top coat can be done as soon as decent weather arrives in the Spring / Summer.

A good coating of primer seals everything.

Each layer gets blended in and slightly overlapped.

A coating of rattle can spray helps prove the problem areas have gone.
Jan 2018 - Although it is too cold to be using the heavy duty spray, the rear quarter has had an overall coat of the correct shade using my small airbrush. When flattened this should be an excellent base for the top coat.

Masking and careful spraying !
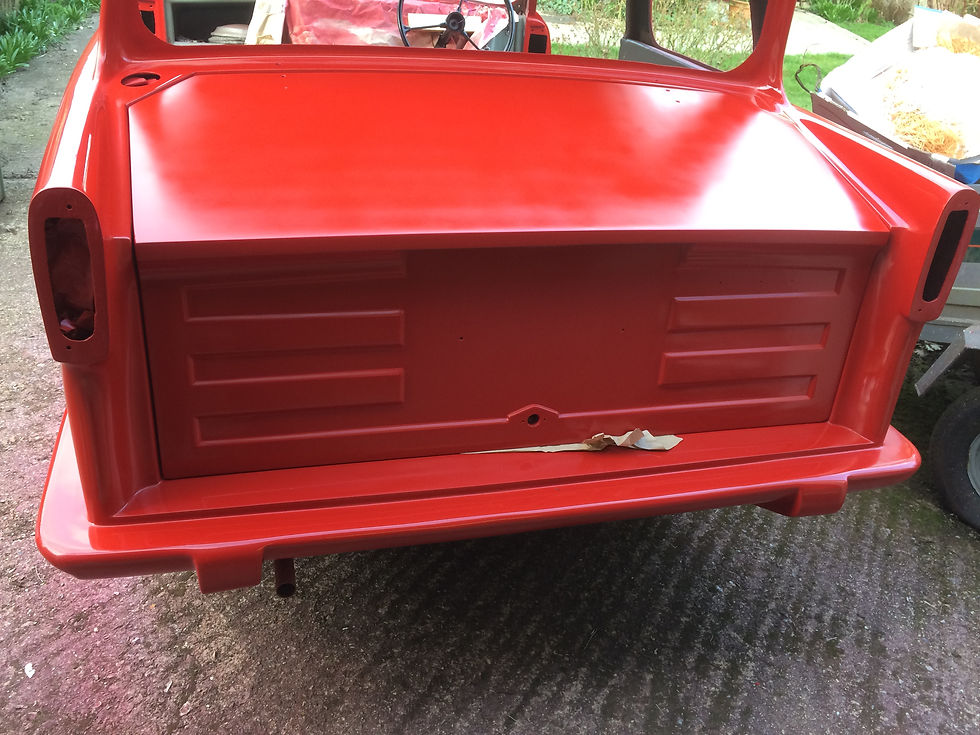
And not forgetting to polish up the boot.

Initial cutting results.
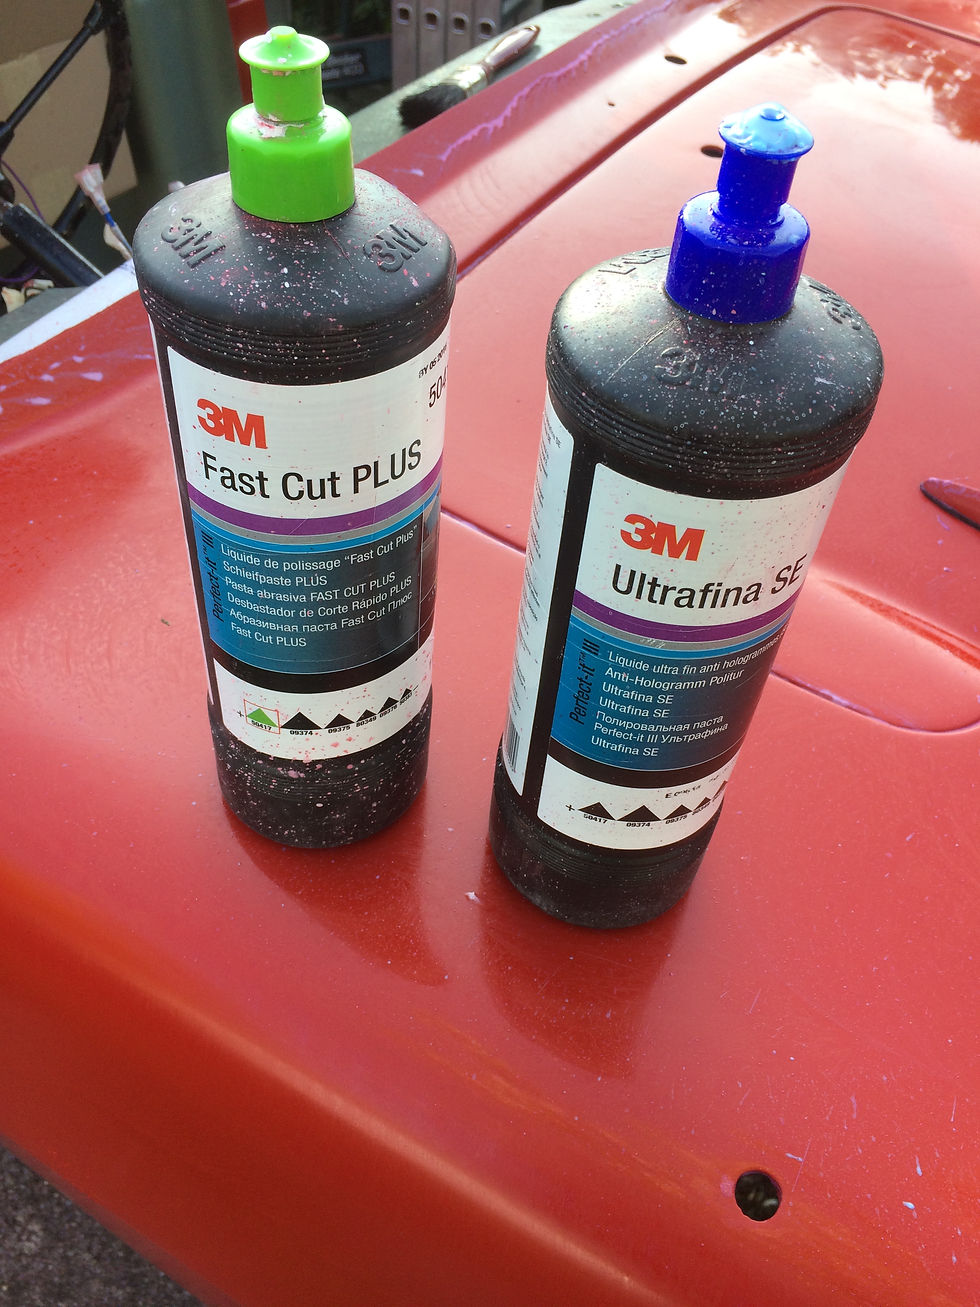
These 3M products produced fantastic results, but great care has to be used when using a power buffer. Despite paying attention to edges and corners during painting, the paint was worm through. This will get airbrush attention later. Its also important to remove any splashes promptly. During the hot weather the oil based ultrafina dried on and was very difficult to remove. It took a combination of hot soapy water, tar remover and re cutting.
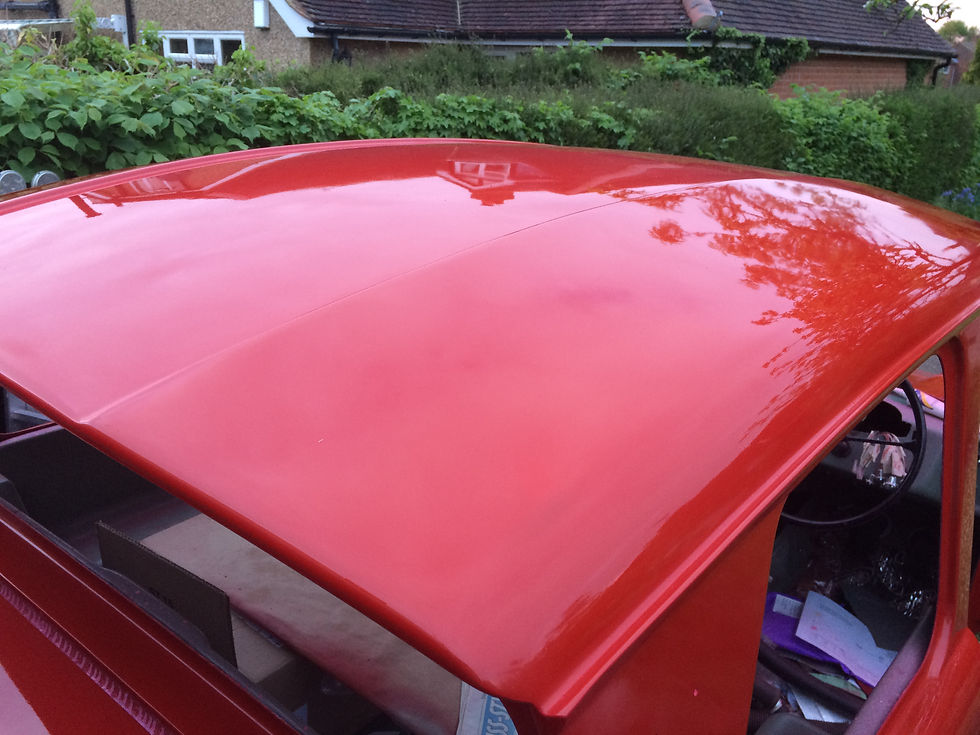

Good results ! But still some faults. Some of these will have to be lived with.