


With the inside of the car cleaned down it was time to tackle the headlining. A bit of research on this matter was a great help, but it was not a job I was particularly looking forward to. First task was to find the old headlining complete with the stay rods. This was laid out and although some of the outer edges had come off, there was sufficient for it to be a rough pattern.

The rods were removed and checked and then labelled from front to rear. I was not taking any chances on one being an odd size !
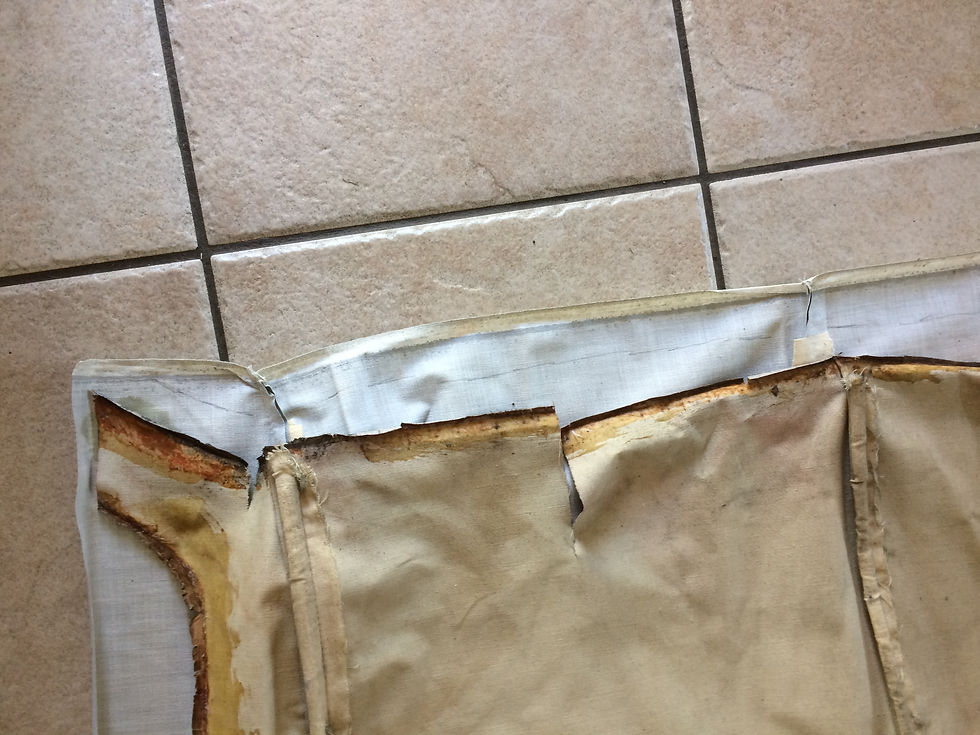
The NOS liner was laid out. It was covered in fold marks & in hindsight could probably have done with a low heat steam ironing. An outline was drawn out for cutting. It was larger than the old liner to allow for adjustment & trimming. Once trimming was close to the original the rods went in and it was nearly time to get fitting.

However, I nearly forgot about the rear view mirror mount, which was loose and rusty. It was an easy job to clean it up, prime it and use some epoxy to secure it in place. During the first fitting attempt it was noticed that slots need to be cut into the cotton tubes that hold the rods, so that they can slip over the ceiling mounted clips.

The first fitting produced less than perfect results, but once it started to be pulled tight it started to improve. However, there were a few issues that were going to prove problematic. Getting the rods to stay on the clips was frustrating as when one end of the liner was pulled, it would unclip at the other.
The rear tubes are arch shaped to match the roof curve at the rear window. The mounting pockets for the rod were damaged & I fibreglassed in the ends of the rods. This was a mistake as there should have been a special clip in the pocket with the end wire to be pushed into the rod. Therefore the rear portion of the liner is not tensioned correctly.

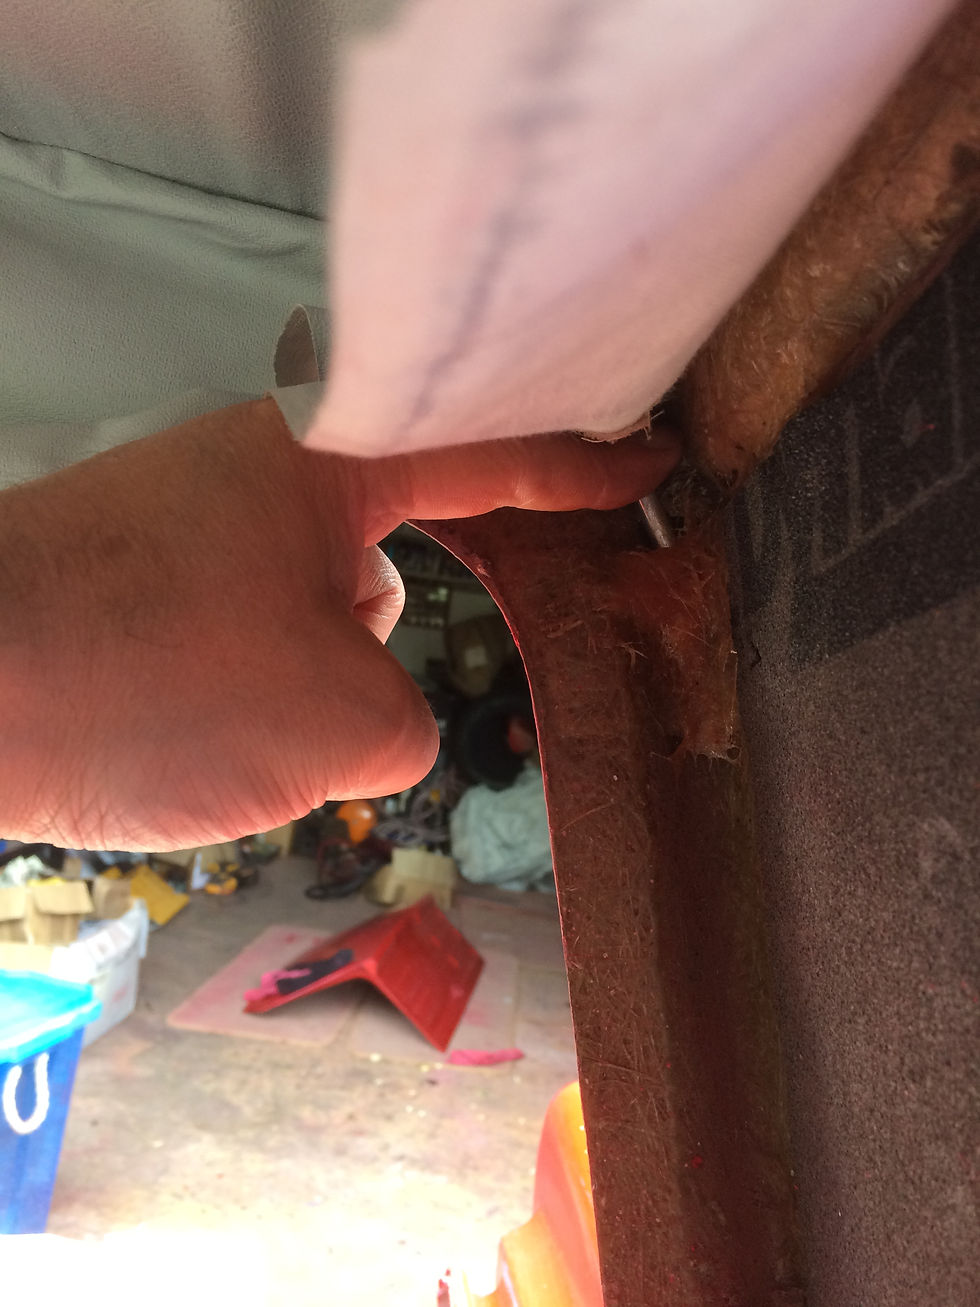
The rods are secured to the roofline by thin wire plugs. Due to having to take the liner off a couple of times some broke.

The quickest repair was to open a space below the securing plate just enough to be able to pass in some of the length of wire. This can then be bent back on itself and then upright into the position it would be if mounted on top of the plate. Epoxy was used to secure the wire under the plate.

After some time to stretch and further adjustments, the liner looked much better and was soon ready for a final trim, stretch and gluing. I decided to use a spray type trim glue with a high temperature tolerance. However, I was less than pleased with the results. It was difficult to apply with the liner in situ. It splattered everywhere and created blemishes on the paintwork. It also appeared to dry foam like, but I thought it would harden as it dried. After an overnight drying session the liner was trimmed and the large bulldog clips removed. It didn't look too bad apart from the rear, although where the glued surfaces actually touch the body is in reality very small. This had huge implications for the window fitting. Before this could start I needed to ensure the interior panelwork was cleaned and glued back together where needed. I also had the interior light to attach to the trim panel and the wiring loom.


